TensorRT安装
TensorRT安装以及相关配置
看到很多tensorrt安装教程有一些问题,所以我安装完后写这篇记录并分享一下.
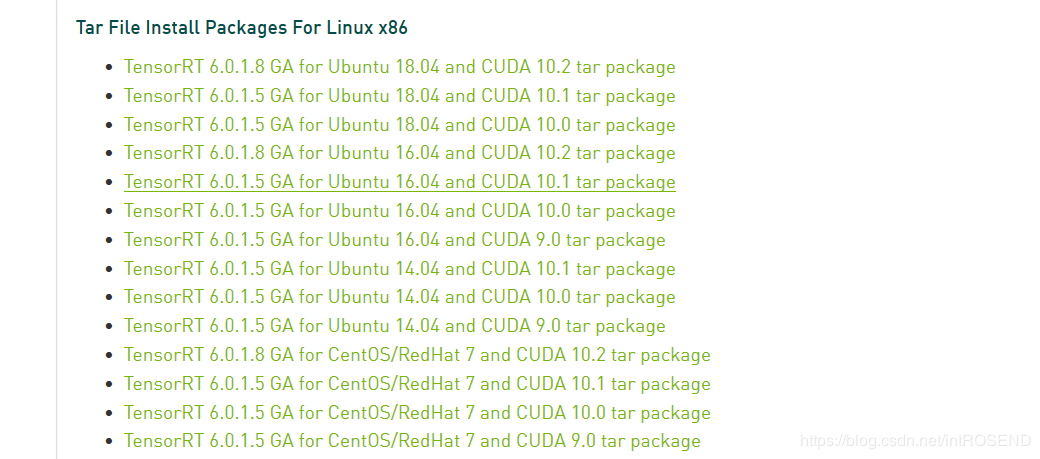
TensorRT官方API提供了四种安装方式,建议下载tar包进行安装。下载地址https://developer.nvidia.com/tensorrt

2.1 解压
tar xzvf TensorRT-6.0.1.5..-gnu.cuda-10.1.cudnn7.x.tar.gz
2.2 添加环境变量
$ vim ~/.bashrc # 打开环境变量文件
# 将下面三个环境变量写入环境变量文件并保存
export LD_LIBRARY_PATH=TensorRT解压路径/lib:$LD_LIBRARY_PATH
export CUDA_INSTALL_DIR=/usr/local/cuda-10.1
export CUDNN_INSTALL_DIR=/usr/local/cuda-10.1
# 使刚刚修改的环境变量文件生效
$ source ~/.bashrc
2.3 安装TensorRT的python接口
$ cd TensorRT-6.0.1.5/python
#选择自己的python版本
$ sudo pip3 install tensorrt-6.0.1.5-cp35-none-linux_x86_64.whl
测试
>>> import tensorrt
>>> tensorrt.__version__
2.4 安装UFF
$ cd TensorRT-6.0.1.5/uff
$ sudo pip3 install uff-0.6.5-py2.py3-none-any.whl
2.5 安装graphsurgeon
$ cd TensorRT-6.0.1.5/graphsurgeon
$ sudo pip3 install graphsurgeon-0.4.1-py2.py3-none-any.whl
3. 安装yolov3-tiny-onnx-TensorRT工程所需要的环境
3.1 安装numpy
sudo pip3 install numpy
3.2 安装onnx
(版本匹配不好的话会失败)
sudo pip3 install onnx==1.4.1
#如果不行的话用豆瓣提供的源
pip install onnx==1.4.1 -i http://pypi.douban.com/simple --trusted-host pypi.douban.com
3.3 安装pycuda
pip install pycuda==2019.1.1 -i http://pypi.douban.com/simple --trusted-host pypi.douban.com
3.4 安装pillow
pip install Pillow==6.1.0 -i https://pypi.doubanio.com/simple/ --trusted-host pypi.doubanio.com
3.5 安装wget
pip install wget==3.2 -i https://pypi.doubanio.com/simple/ --trusted-host pypi.doubanio.com
参考:
https://blog.csdn.net/wgshun616/article/details/81019601
https://blog.csdn.net/zong596568821xp/article/details/86077553?depth_1-utm_source=distribute.pc_relevant.none-task&utm_source=distribute.pc_relevant.none-task
https://blog.csdn.net/zhouzi_heng/article/details/95255017
作者:Bungula