SpringBoot详解实现自定义异常处理页面方法
目录
1.相关介绍
2.代码实现
3.运行测试
1.相关介绍当发生异常时, 跳转到我们自定义的异常处理页面.
SpringBoot中只需在静态资源目录下创建一个error文件夹, 并把异常处理页面放入其中, 页面的命名与异常错误代码对应, 如404.html, 500.html.
5xx.html可以对应所有错误代码为5开头的错误
默认静态资源目录为类路径(resources)下的:
/static
/public
/resources
/META-INF/resources
2.代码实现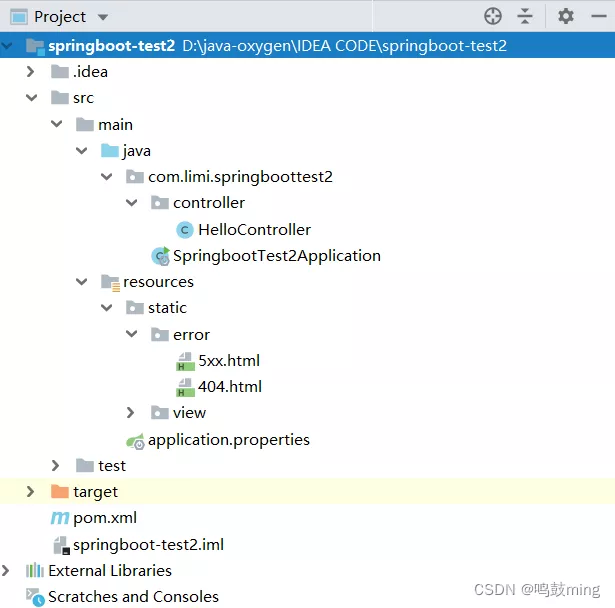
HelloController
package com.limi.springboottest2.controller;
import org.springframework.stereotype.Controller;
import org.springframework.web.bind.annotation.GetMapping;
import org.springframework.web.bind.annotation.ResponseBody;
@Controller
public class HelloController {
    @ResponseBody
    @GetMapping("/test1")
    public String test1(){
        int i = 10/0; //模拟500异常
        return "ok";
    }
}
404.html
<!DOCTYPE html>
<html lang="en">
<head>
    <meta charset="UTF-8">
    <title>Title</title>
</head>
<body>
    <h1>这是自定义404</h1>
</body>
</html>
5xx.html
<!DOCTYPE html>
<html lang="en">
<head>
<meta charset="UTF-8">
<title>Title</title>
</head>
<body>
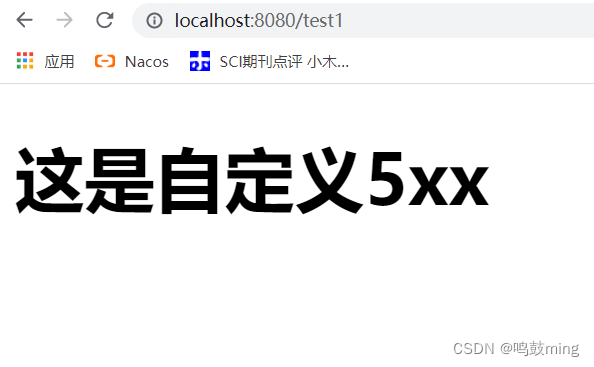
<h1>这是自定义5xx</h1>
</body>
</html>
3.运行测试
测试404

测试500
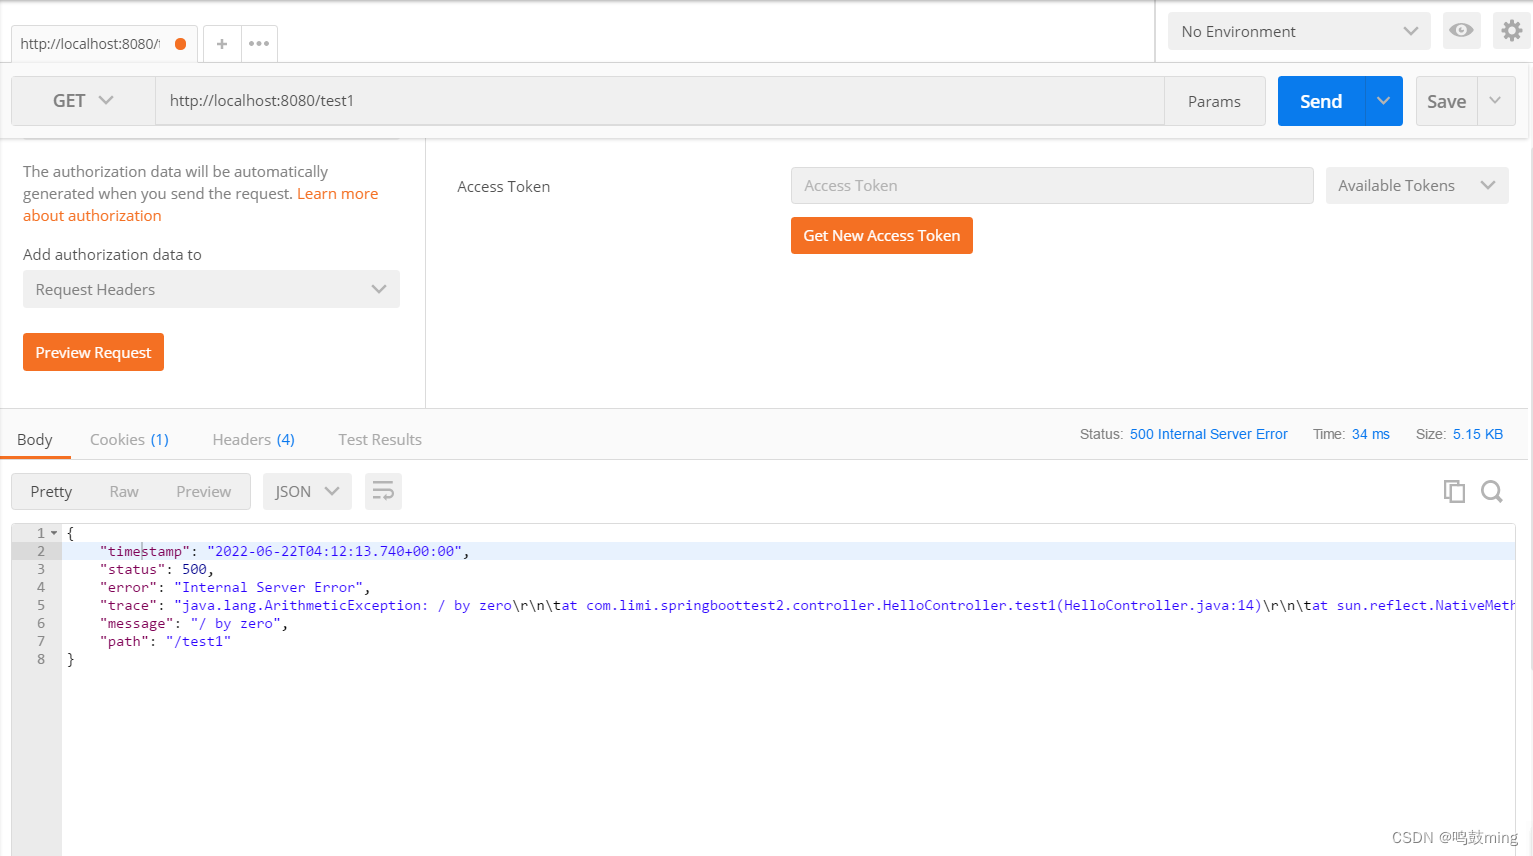
使用postman测试
{
"timestamp": "2022-06-22T04:12:13.740+00:00",
"status": 500,
"error": "Internal Server Error",
"trace": "java.lang.ArithmeticException: / by zero\r\n\tat com.limi.springboottest2.controller.HelloController.test1(HelloController.java:14),
"message": "/ by zero",
"path": "/test1"
}
返回的信息我们可以使用模板引擎(如thymeleaf)获取并写入自定义的异常处理页面中
到此这篇关于SpringBoot详解实现自定义异常处理页面方法的文章就介绍到这了,更多相关SpringBoot异常处理内容请搜索软件开发网以前的文章或继续浏览下面的相关文章希望大家以后多多支持软件开发网!
相关文章
Serwa
2020-03-20
Vivienne
2021-07-20
Ada
2021-01-19
Gretchen
2020-04-28
Grace
2023-07-22
Vanna
2023-07-22
Peony
2023-07-22
Dorothy
2023-07-22
Dulcea
2023-07-22
Jamina
2023-07-22
Zandra
2023-07-22
Serafina
2023-07-24
Kathy
2023-08-08
Viveka
2023-08-08
Olivia
2023-08-08
Elina
2023-08-08
Jacinthe
2023-08-08
Viridis
2023-08-08