React Router 5.1.0使用useHistory做页面跳转导航的实现
目录
1.使用withRouter组件
2、使用Route标签
React Router 5.1.0使用useHistory
在React Router v4中 可以使用
withRouter组件
使用标签
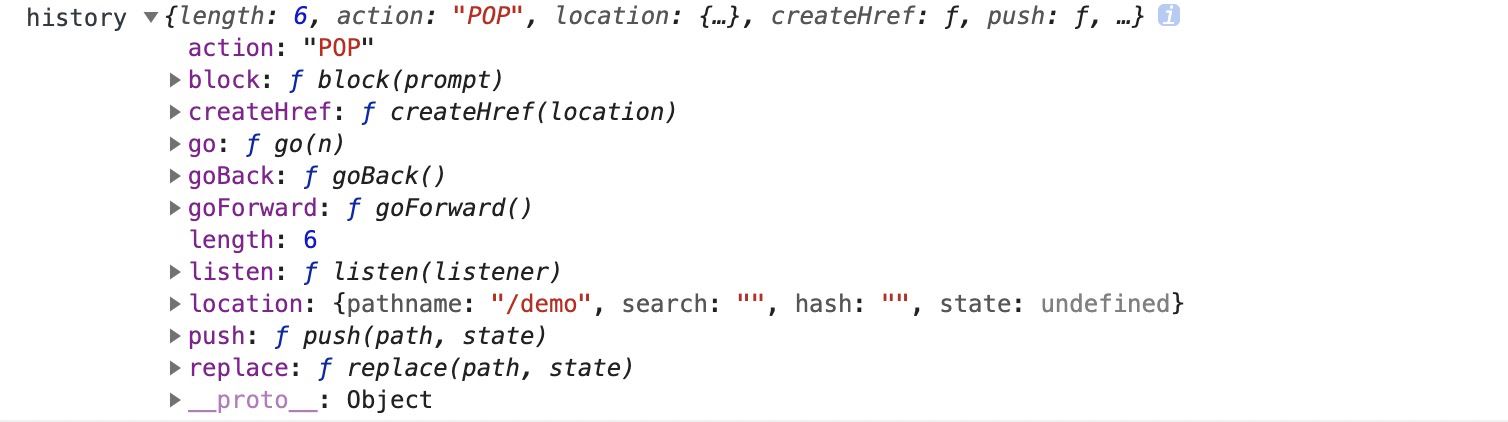
1.使用withRouter组件withRouter组件将注入history对象作为该组件的属性
import React from 'react'
import { withRouter } from 'react-router-dom'
import { Button } from 'antd'
export const ButtonWithRouter = withRouter(({ history }) => {
  console.log('history', history)
  return (
    <Button
      type='default'
      onClick={() => { history.push('/new-location') }}
    >
      Click Me!
    </Button>
  )
})
引入 import { ButtonWithRouter } from ‘./buttonWithRouter'
或者:
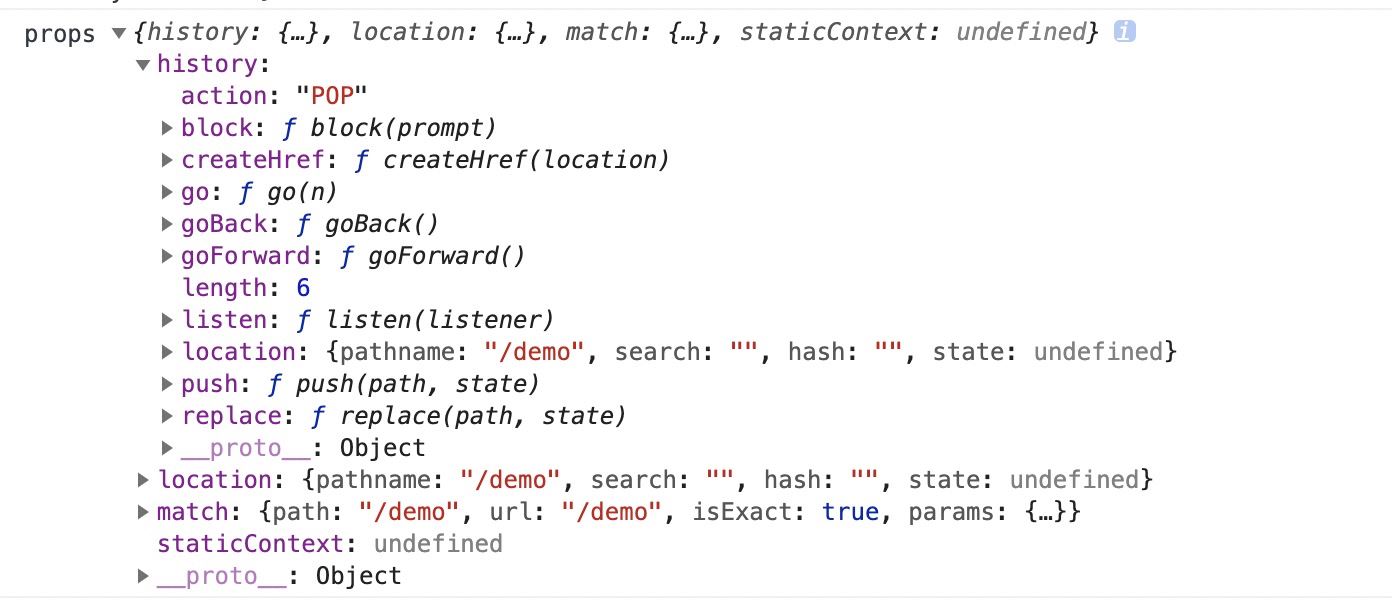
const ButtonWithRouter = (props) => {
  console.log('props', props)
  return (
    <Button
      type='default'
      onClick={() => { props.history.location.push('/new-location') }}
    >
      Click Me!
    </Button>
  )
}
export default withRouter(ButtonWithRouter)
引入: import ButtonWithRouter from ‘./buttonWithRouter'
在route入口
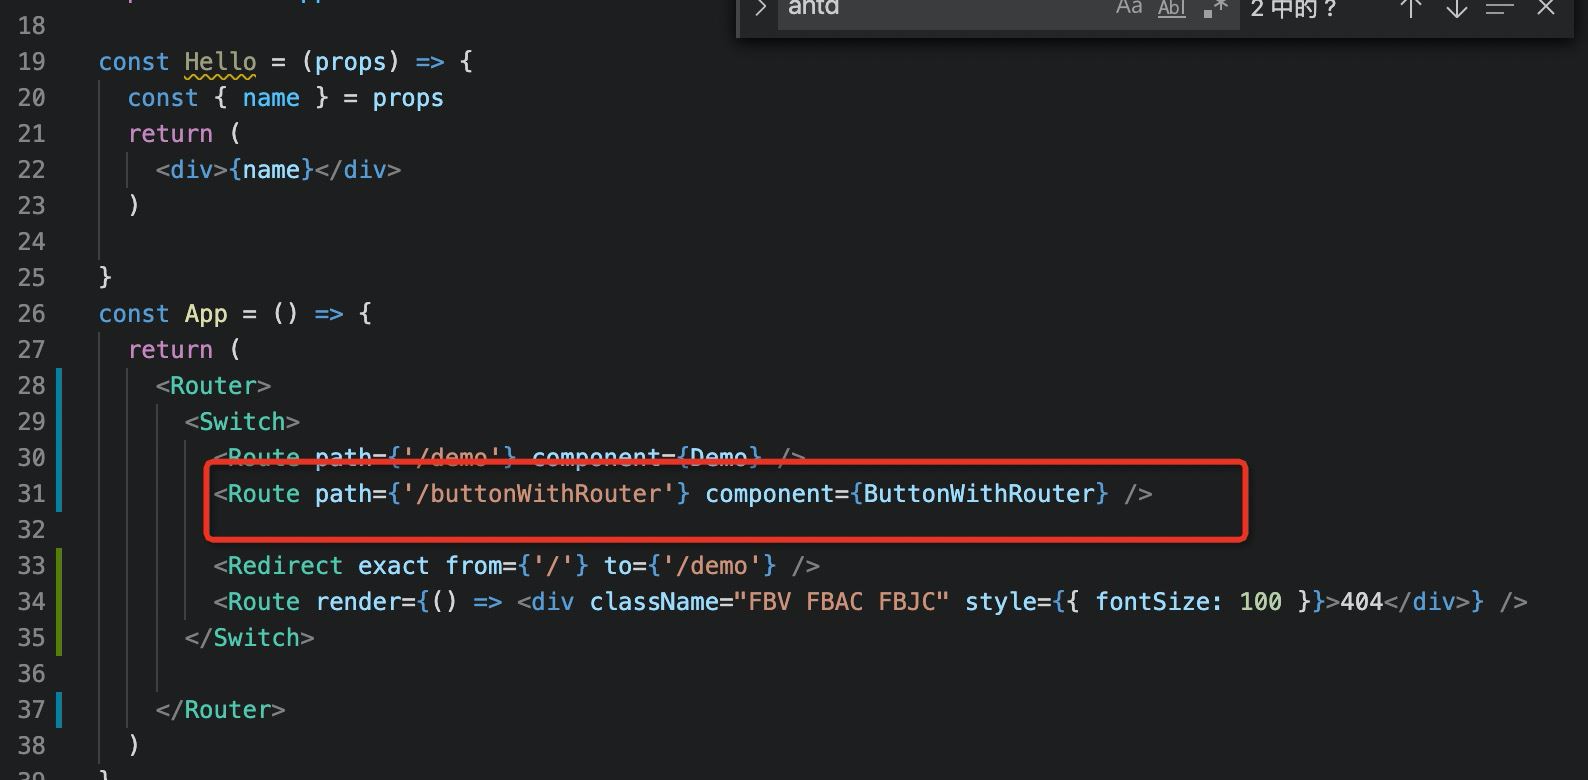
Route组件不仅用于匹配位置。 您可以渲染无路径的路由,它始终与当前位置匹配。 Route组件传递与withRouter相同的属性,因此能够通过history的属性访问history的方法。
so:
export const ButtonWithRouter = () => (
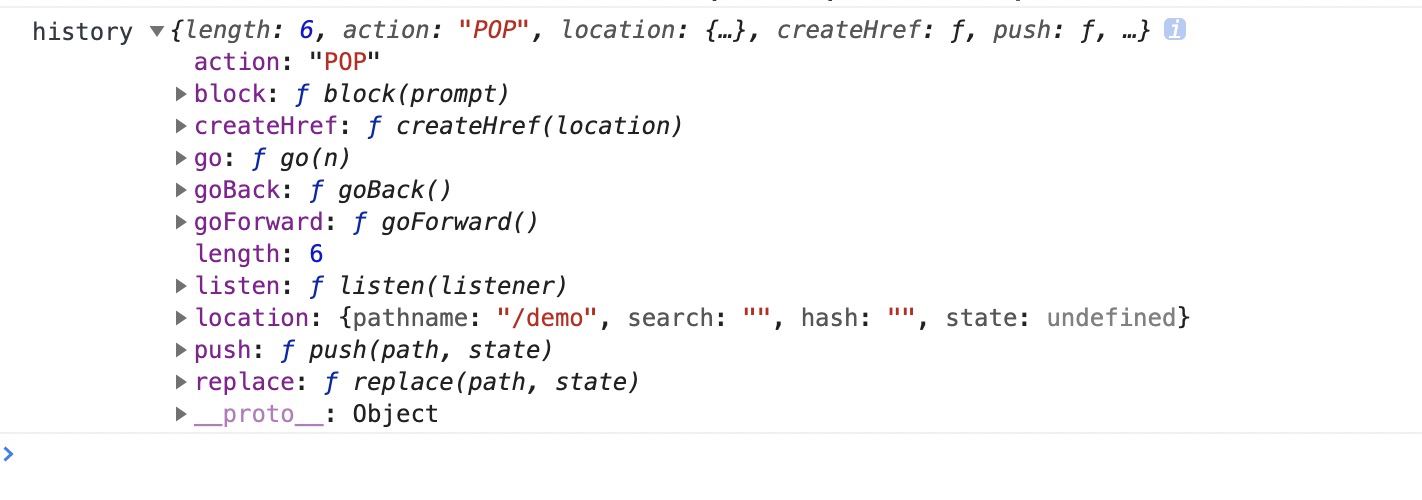
<Route render={({ history }) => {
console.log('history', history)
return (
<button
type='button'
onClick={() => { history.push('/new-location') }}
>
Click Me!
</button>
)
}} />
)
从React Router v5.1.0开始,新增了useHistory钩子(hook),如果是使用React >16.8.0,使用useHistory即可实现页面跳转
export const ButtonWithRouter = () => {
  const history = useHistory();
  console.log('history', history)
  return (
    <button
      type='button'
      onClick={() => { history.push('/new-location') }}
    >
      Click Me!
    </button>
  )
}
到此这篇关于React Router 5.1.0使用useHistory做页面跳转导航的实现的文章就介绍到这了,更多相关ReactRouter useHistory页面跳转导航内容请搜索软件开发网以前的文章或继续浏览下面的相关文章希望大家以后多多支持软件开发网!
相关文章
Yasmin
2021-05-01
Bonnie
2021-06-25
Victoria
2023-05-16
Anna
2023-05-16
Jacinthe
2023-05-16
Elita
2023-05-17
Tani
2023-05-18
Viveka
2023-05-18
Karli
2023-05-18
Tia
2023-05-18
Jacinda
2023-07-20
Nova
2023-07-20
Beth
2023-07-20
Viridis
2023-07-20
Georgia
2023-07-20
Shaine
2023-07-20
Isleta
2023-07-20
Jacinda
2023-07-20