VScode(一):C/C++ MinGW Code Runner
目录1 VScode配置安装2 MinGW配置安装2.1 MinGW下载安装2.2 MinGW环境配置3 VScode编译C/C++3.1 扩展插件安装3.2 项目配置3.2.1 配置启动——launch.json3.2.2 配置任务——task.json3.2.2 配置跨库——c_cpp_properties.json3 代码示例3.1 源码获取3.2 代码执行4 参考资料
1 VScode配置安装
作者:流浪中的UncleLivin
自行前往VScode官网下载,并按提示进行安装。

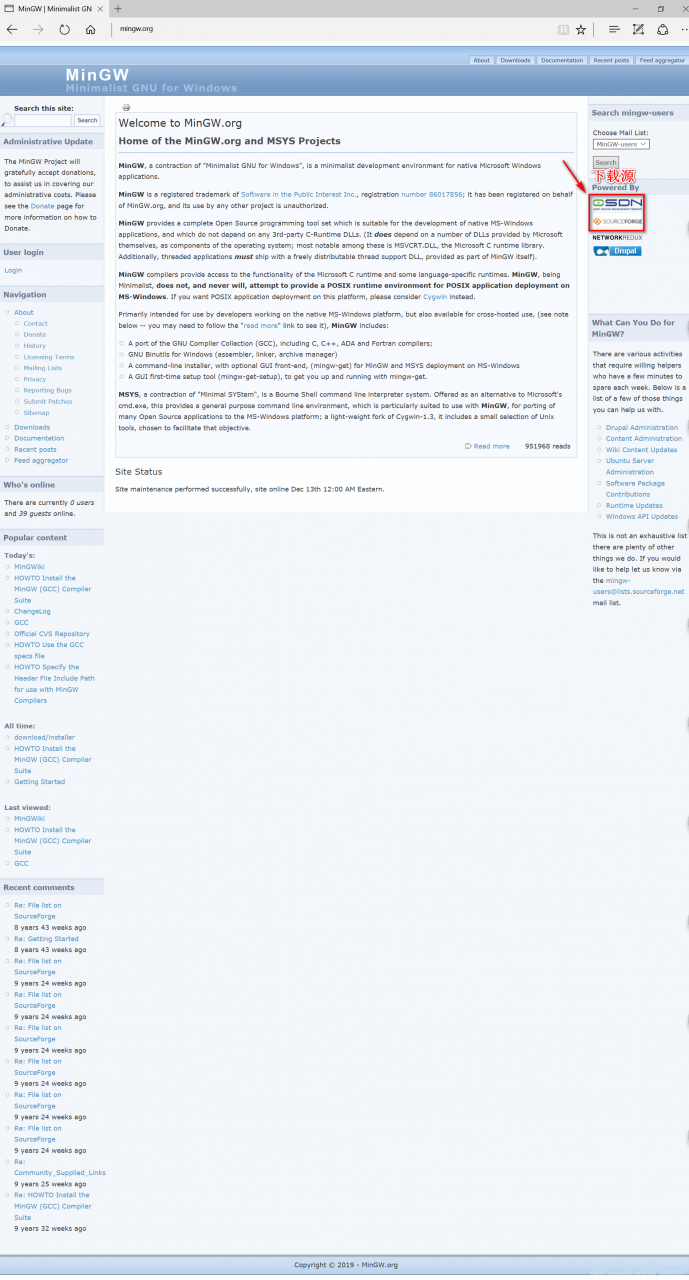
1)选择下载源
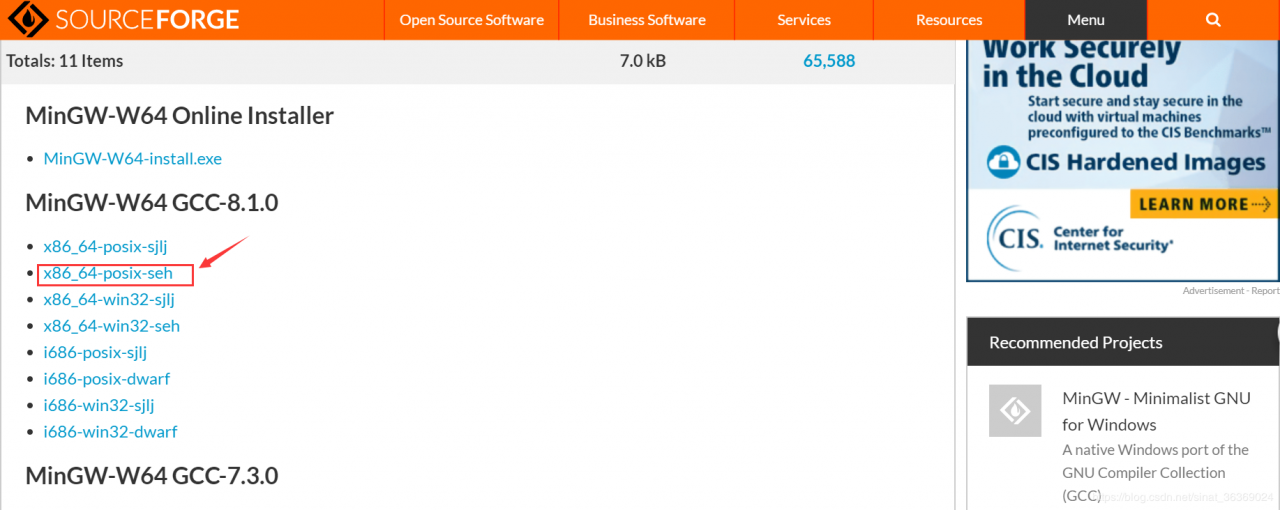
2)选择安装模式(以免安装为例)
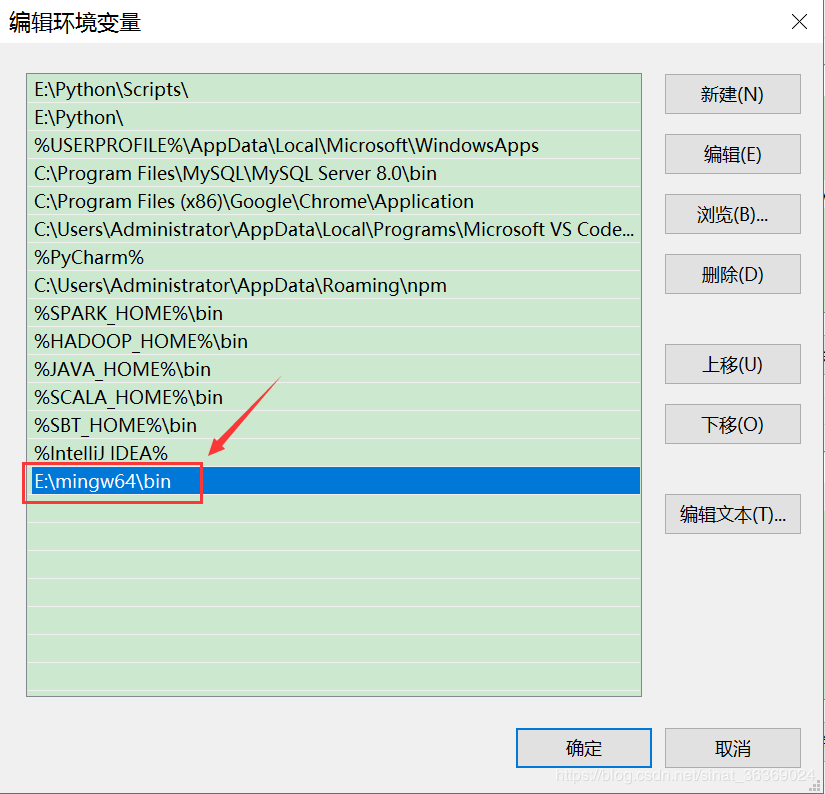
1)配置用户环境变量
2)验证配置
![]()
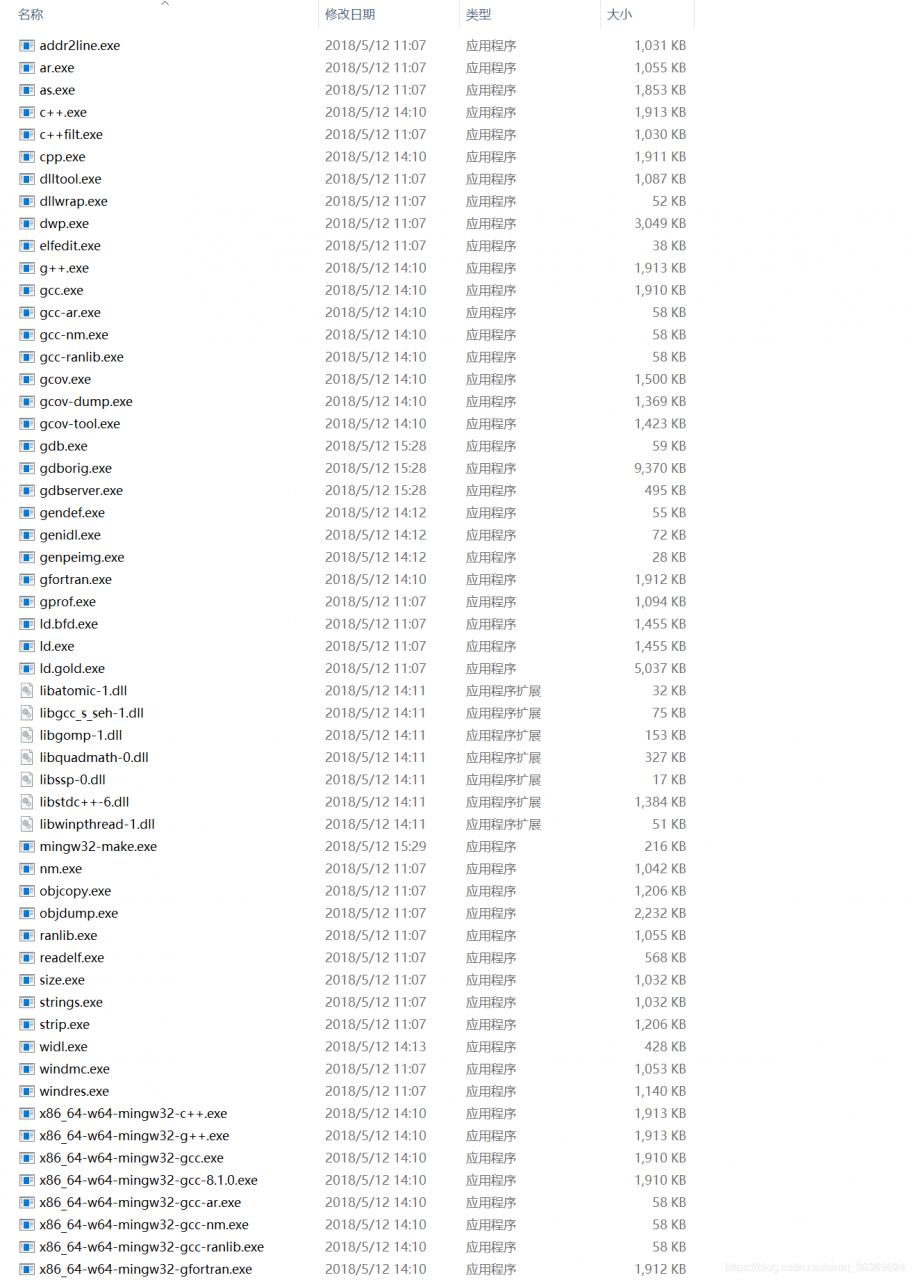
# 配置成功
C:\Users\Administrator>c++
c++: fatal error: no input files
compilation terminated.
# 配置失败
C:\Users\Administrator>c++
'c++' 不是内部或外部命令,也不是可运行的程序
或批处理文件。
3 VScode编译C/C++
3.1 扩展插件安装


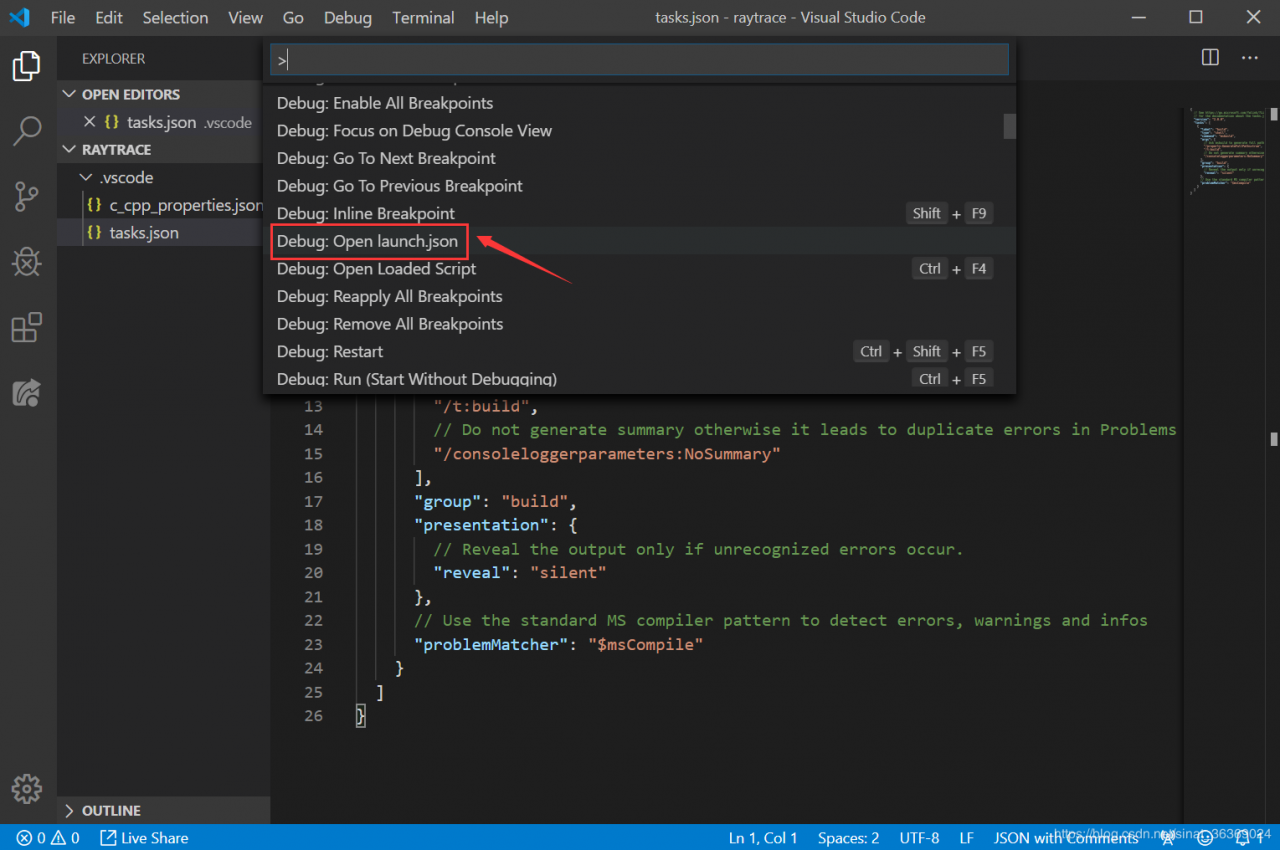
{
  // Use IntelliSense to learn about possible attributes.
  // Hover to view descriptions of existing attributes.
  // For more information, visit: https://go.microsoft.com/fwlink/?linkid=830387
  "version": "0.2.0",
      "configurations": [
        {
          "name": "(gdb) 启动",//配置名称
          "type": "cppdbg",//配置类型
          "request": "launch",//配置请求类型
          "program": "${fileDirname}/${fileBasenameNoExtension}.exe",//程序调试路径
          "args": [],// 程序调试时传递给程序的命令行参数,一般设为空即可
          "stopAtEntry": false,// 设为true时程序将暂停在程序入口处,相当于在main上打断点
          "cwd": "${workspaceFolder}",// 调试程序时的工作目录,此处为工作区文件夹;改成${fileDirname}可变为文件所在目录
          "environment": [],// 环境变量
          "externalConsole": true,// 为true时使用单独的cmd窗口,与其它IDE一致;18年10月后设为false可调用VSC内置终端
          "internalConsoleOptions": "neverOpen", // 如果不设为neverOpen,调试时会跳到“调试控制台”选项卡
          "MIMode": "gdb",// 指定连接的调试器,可以为gdb或lldb
          "miDebuggerPath": "gdb.exe",// 调试器路径,Windows下后缀不能省略,Linux下则不要
          "setupCommands": [
              {
                  "description": "为 gdb 启用整齐打印",
                  "text": "-enable-pretty-printing",
                  "ignoreFailures": true
              }
          ],
          "preLaunchTask": "Compile" // 调试会话开始前执行的任务,一般为编译程序。与tasks.json的label相对应
        }
    ]
}
3.2.2 配置任务——task.json
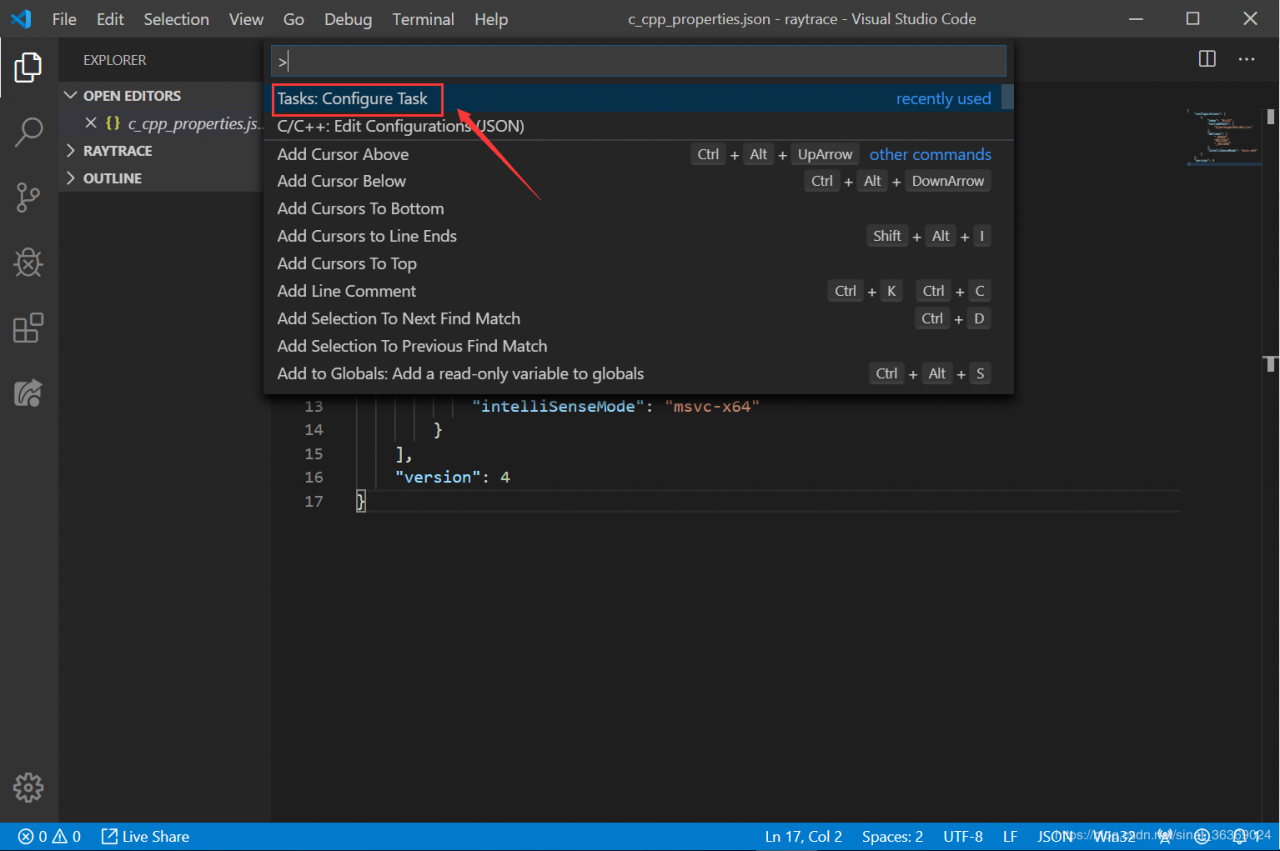
{
  // See https://go.microsoft.com/fwlink/?LinkId=733558
  // for the documentation about the tasks.json format
  "version": "2.0.0",
  "tasks": [
    {
      "type": "shell",
      "label": "Compile",//任务名称,保持与launch.json的preLaunchTask一致
      "command": "E:\\mingw64\\bin\\g++.exe",
      "args": [
        "-g",
        "${file}",
        "-o",
        "${fileDirname}\\${fileBasenameNoExtension}.exe",
        "-fexec-charset=GBK", //GBK编码,用于解决Winows中文乱码
      ],
      "options": {
        "cwd": "E:\\mingw64\\bin"
      },
      "problemMatcher": [
        "$gcc"
      ],
      "group": "build"
    }
  ]
}
3.2.2 配置跨库——c_cpp_properties.json
当需要调用其它库,或者自己编写的位于工作空间以外的头文件,则需要编写此文件。
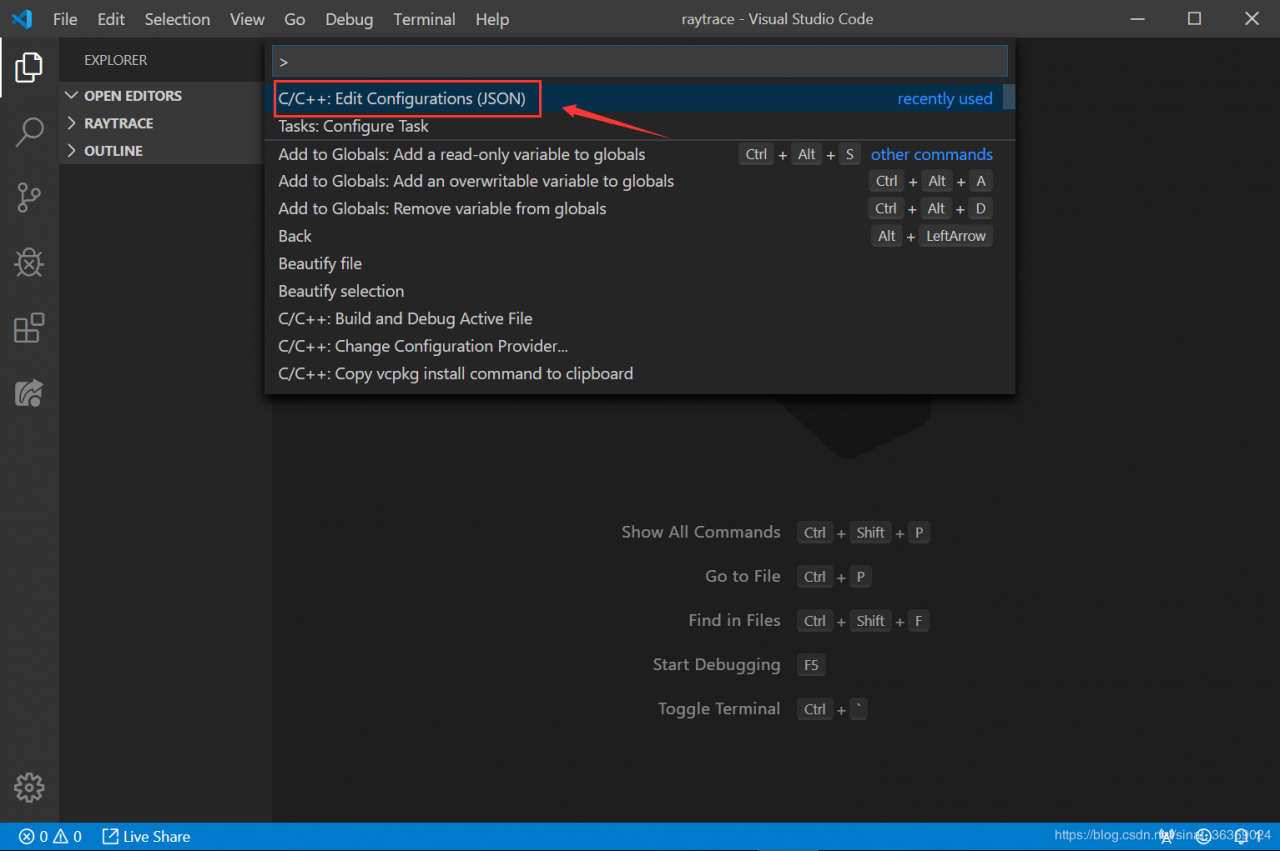
{
    "configurations": [
        {
            "name": "Win32",
            "includePath": [
                "${workspaceFolder}/**"
            ],
            "defines": [
                "_DEBUG",
                "UNICODE",
                "_UNICODE"
            ],
            "compilerPath": "E:\\mingw64\\bin\\gcc.exe",
            "cStandard": "c11",
            "cppStandard": "c++17",
            "intelliSenseMode": "clang-x64"
        }
    ],
    "version": 4
}
3 代码示例
3.1 源码获取
鉴于图像处理领域大量用到C++,直接从github上克隆一个光线追踪项目。

1)执行主函数
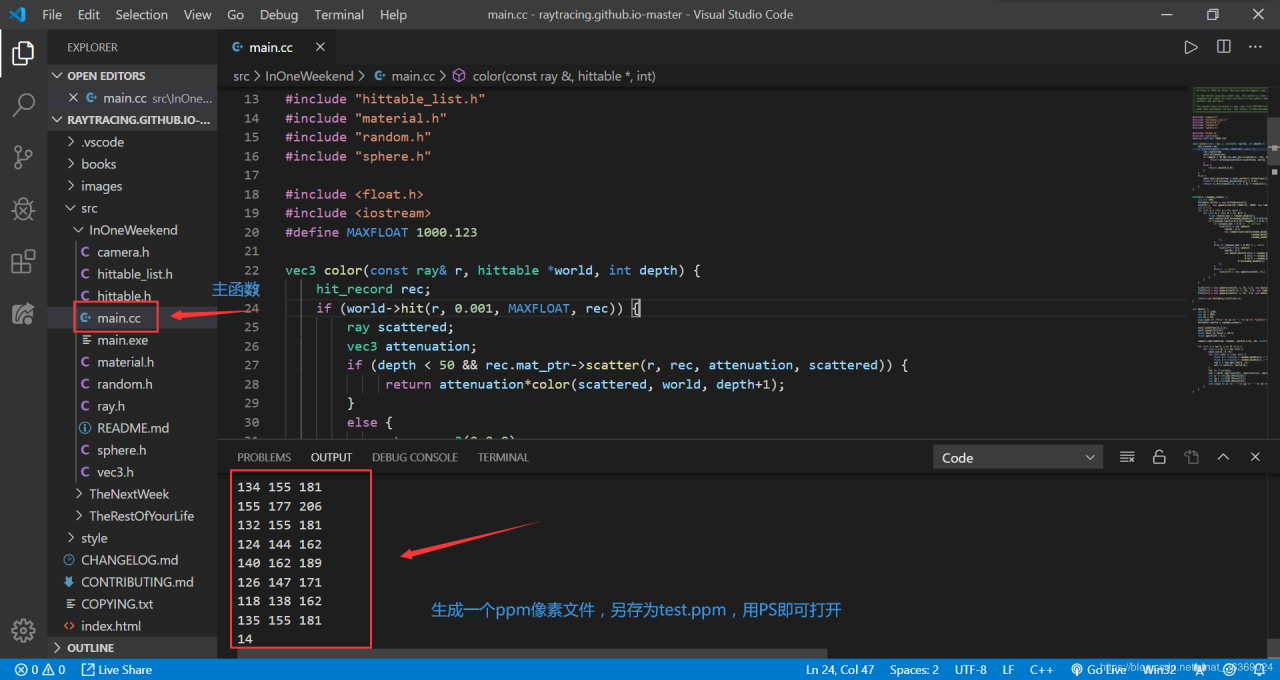
2)查看结果

作者:流浪中的UncleLivin