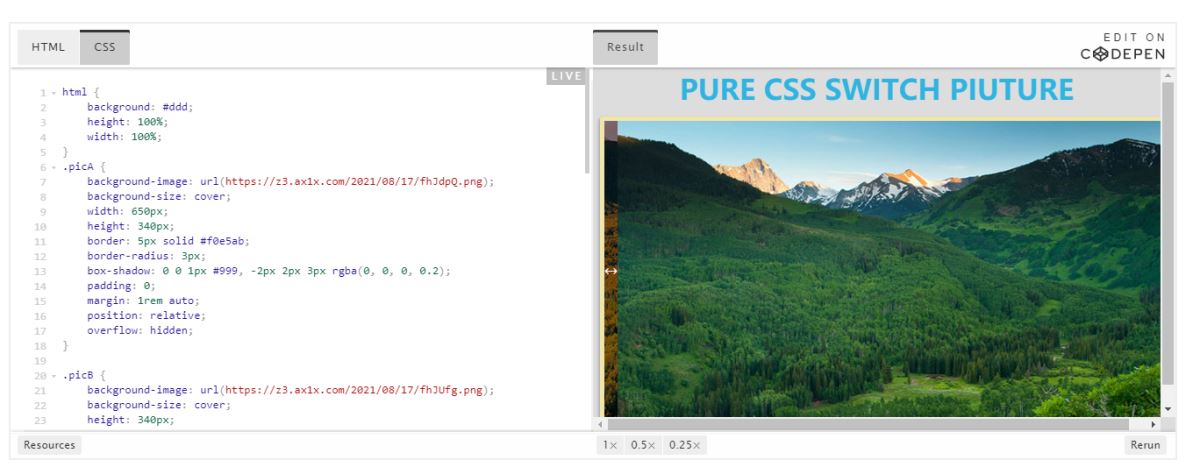
如何使用 resize 实现图片切换预览功能
关键点
CSS resize 属性允许你控制一个元素的可调整大小性
配合 resize 实现子元素的动态宽度
HTML:
<div class='picA'>
    <div class='picB'>
        <div readonly class='resizeElement'></div>
    </div>
</div>
SCSS:
html {
    background: #ddd;
    height: 100%;
    width: 100%;
}
.picA {
    background-image: url(https://z3.ax1x.com/2021/08/17/fhJdpQ.png);
    background-size: cover;
    width: 650px;
    height: 340px;
    border: 5px solid #f0e5ab;
    border-radius: 3px;
    box-shadow: 0 0 1px #999, -2px 2px 3px rgba(0, 0, 0, 0.2);
    padding: 0;
    margin: 1rem auto;
    position: relative;
    overflow: hidden;
}
.picB {
    background-image: url(https://z3.ax1x.com/2021/08/17/fhJUfg.png);
    background-size: cover;
    height: 340px;
    position: absolute;
    top: 0;
    left: 0;
    min-width: 0;
    max-width: 650px;
    box-sizing: border-box;
}
.picB:before {
    content: "↔";
    position: absolute;
    background: rgba(0, 0, 0, 0.5);
    font-size: 16px;
    color: white;
    top: 0;
    right: 0;
    height: 100%;
    line-height: 340px;
}
.resizeElement {
    resize: horizontal;
    overflow: scroll;
    opacity: 0;
    position: relative;
    top: 50%;
    left: 0px;
    height: 15px;
    max-width: 650px;
    min-width: 15px;
    width: 0;
    cursor: move;
    transform: scaleY(35);
    transform-origin: center center;
    animation: delta 5s normal ease-in-out 1s;
}
@keyframes delta {
    30% {
        width: 0;
    }
    60% {
        width: 350px;
    }
    100% {
        width: 0;
    }
}
效果如下:

到此这篇关于如何使用 resize 实现图片切换预览功能的文章就介绍到这了,更多相关resize 图片切换预览内容请搜索软件开发网以前的文章或继续浏览下面的相关文章,希望大家以后多多支持软件开发网!