【Tensorflow安装汇总】Conda直装超级简单!!!
Tensorflow硬件检查
检查显卡版本
作者:Focus_UP
打开英伟达控制面板,找到系统信息即可看到

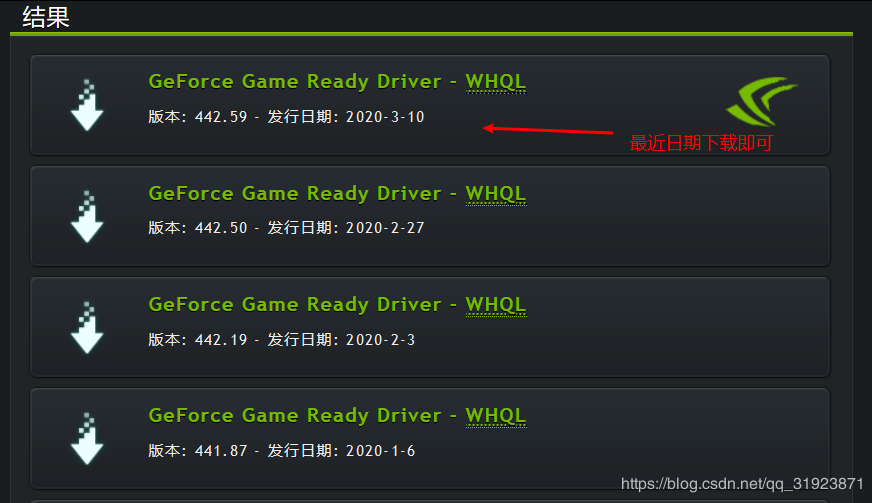
英伟达显卡版本更新的非常频繁,一定要保证显卡驱动是最新的(很多人就是因为不是最新的版本而报错)
去更新显卡驱动官网下载最新版
https://www.geforce.cn/drivers/results/155099


然后一步一步安装下来就行了
先使用正常安装步骤安装Cuda和Cudnn,如果报错再安装conda版
CUDA官网下载:
https://developer.nvidia.com/cuda-downloads?target_os=Windows&target_arch=x86_64
CUDNN官网下载:
https://developer.nvidia.com/cudnn
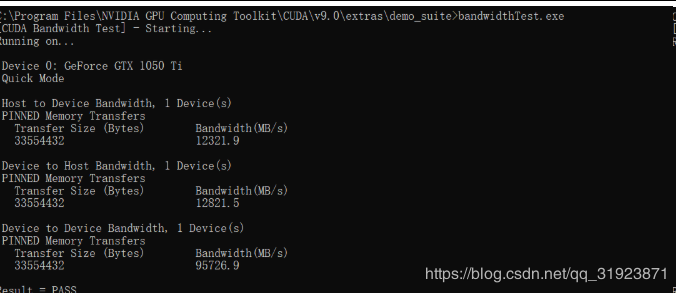
测试是否安装成功:

然后创建虚拟环境去安装tensorflow,参考教程
https://blog.csdn.net/qq_27009909/article/details/100811256`
使用Conda安装版
所有顺序不能错,版本也不能错
创建虚拟环境
conda create --name tensorflow-gpu-new python=3.6.5
激活虚拟环境
activate tensorflow-gpu-new
安装cuda和cudnn,没错cudnn不用指明版本
conda install cudatoolkit=9.0
conda install cudnn
# 安装tensorflow-gpu
pip install tensorflow-gpu==1.6.0  -i http://mirrors.aliyun.com/pypi/simple/  --trusted-host mirrors.aliyun.com
# 为了让jupyter notebook关联到这个虚拟环境
conda install nb_conda
# 三大库安装
pip install  numpy==1.16.0 -i http://mirrors.aliyun.com/pypi/simple/  --trusted-host mirrors.aliyun.com
pip install pandas==0.25.3 -i http://mirrors.aliyun.com/pypi/simple/  --trusted-host mirrors.aliyun.com
pip install matplotlib==3.1.1 -i http://mirrors.aliyun.com/pypi/simple/  --trusted-host mirrors.aliyun.com
# 下面看情况安装,建议全部安装,因为都很常用
pip install h5py -i http://mirrors.aliyun.com/pypi/simple/  --trusted-host mirrors.aliyun.com
pip install sklearn -i http://mirrors.aliyun.com/pypi/simple/  --trusted-host mirrors.aliyun.com
pip install keras==2.1.5 -i http://mirrors.aliyun.com/pypi/simple/  --trusted-host mirrors.aliyun.com
pip install opencv-python -i http://mirrors.aliyun.com/pypi/simple/  --trusted-host mirrors.aliyun.com
pip install gensim -i http://mirrors.aliyun.com/pypi/simple/  --trusted-host mirrors.aliyun.com
pip install tqdm -i http://mirrors.aliyun.com/pypi/simple/  --trusted-host mirrors.aliyun.com
(卡住按回车即可)
完美解决!
测试Tensorflowimport tensorflow as tf
with tf.device('/cpu:0'):
a = tf.constant([1.0,2.0,3.0],shape=[3],name='a')
b = tf.constant([1.0,2.0,3.0],shape=[3],name='b')
with tf.device('/gpu:1'):
c = a+b
#注意:allow_soft_placement=True表明:计算设备可自行选择,如果没有这个参数,会报错。
#因为不是所有的操作都可以被放在GPU上,如果强行将无法放在GPU上的操作指定到GPU上,将会报错。
sess = tf.Session(config=tf.ConfigProto(allow_soft_placement=True,log_device_placement=True))
#sess = tf.Session(config=tf.ConfigProto(log_device_placement=True))
sess.run(tf.global_variables_initializer())
print(sess.run(c))
关于博主
【大家如果有关于JavaWeb+大数据(擅长领域)+ 人工智能等方面的疑惑,比如学习路线,学习方法,项目准备,简历包装等,都可以直接向我进行咨询,还可以加入群聊和小伙伴一起共同成长。(加我请备注CSDN)】

作者:Focus_UP