SpringBoot集成JWT实现登陆验证的方法详解
1:首先,我们需要在项目中导入两个依赖:
        <dependency>
            <groupId>com.auth0</groupId>
            <artifactId>java-jwt</artifactId>
            <version>3.10.3</version>
        </dependency>
        <dependency>
            <groupId>cn.hutool</groupId>
            <artifactId>hutool-all</artifactId>
            <version>5.7.20</version>
        </dependency>
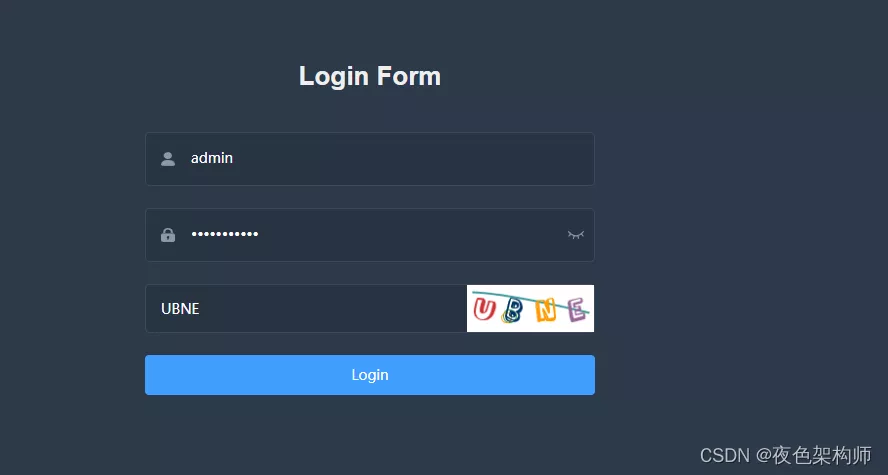
2:然后我讲一下需求:前端给后端传入一个form-data类型数据,然后数据库中现在已经有了一条管理员用户(看下面第二个图)

(1):我们的思路就是首先获取到前端传来的值,然后使用前端传来的用户名去数据库中查,我们前端传来的数据我是用了一个封装实体类:UserDto来保存前端传来的值:


(2):然后我们将根据用户名查出来的数据会返回出一个实体类,我们使用get方法得到他的salt:(也就是数据库中的salt)

(3):接下来,我们将前端传来的密码和数据库中查到的salt加起来,组成新的字符串,然后将新的字符串进行SHA-256加密,将加密处理后的密码去和数据库中的密码比对是否相等,这里上面那个图片也圈住了,至于这句话: String s1 = HexUtils.toHexString(MessageDigest.getInstance("SHA-256").digest(s.getBytes()));就是使用SHA-256加密
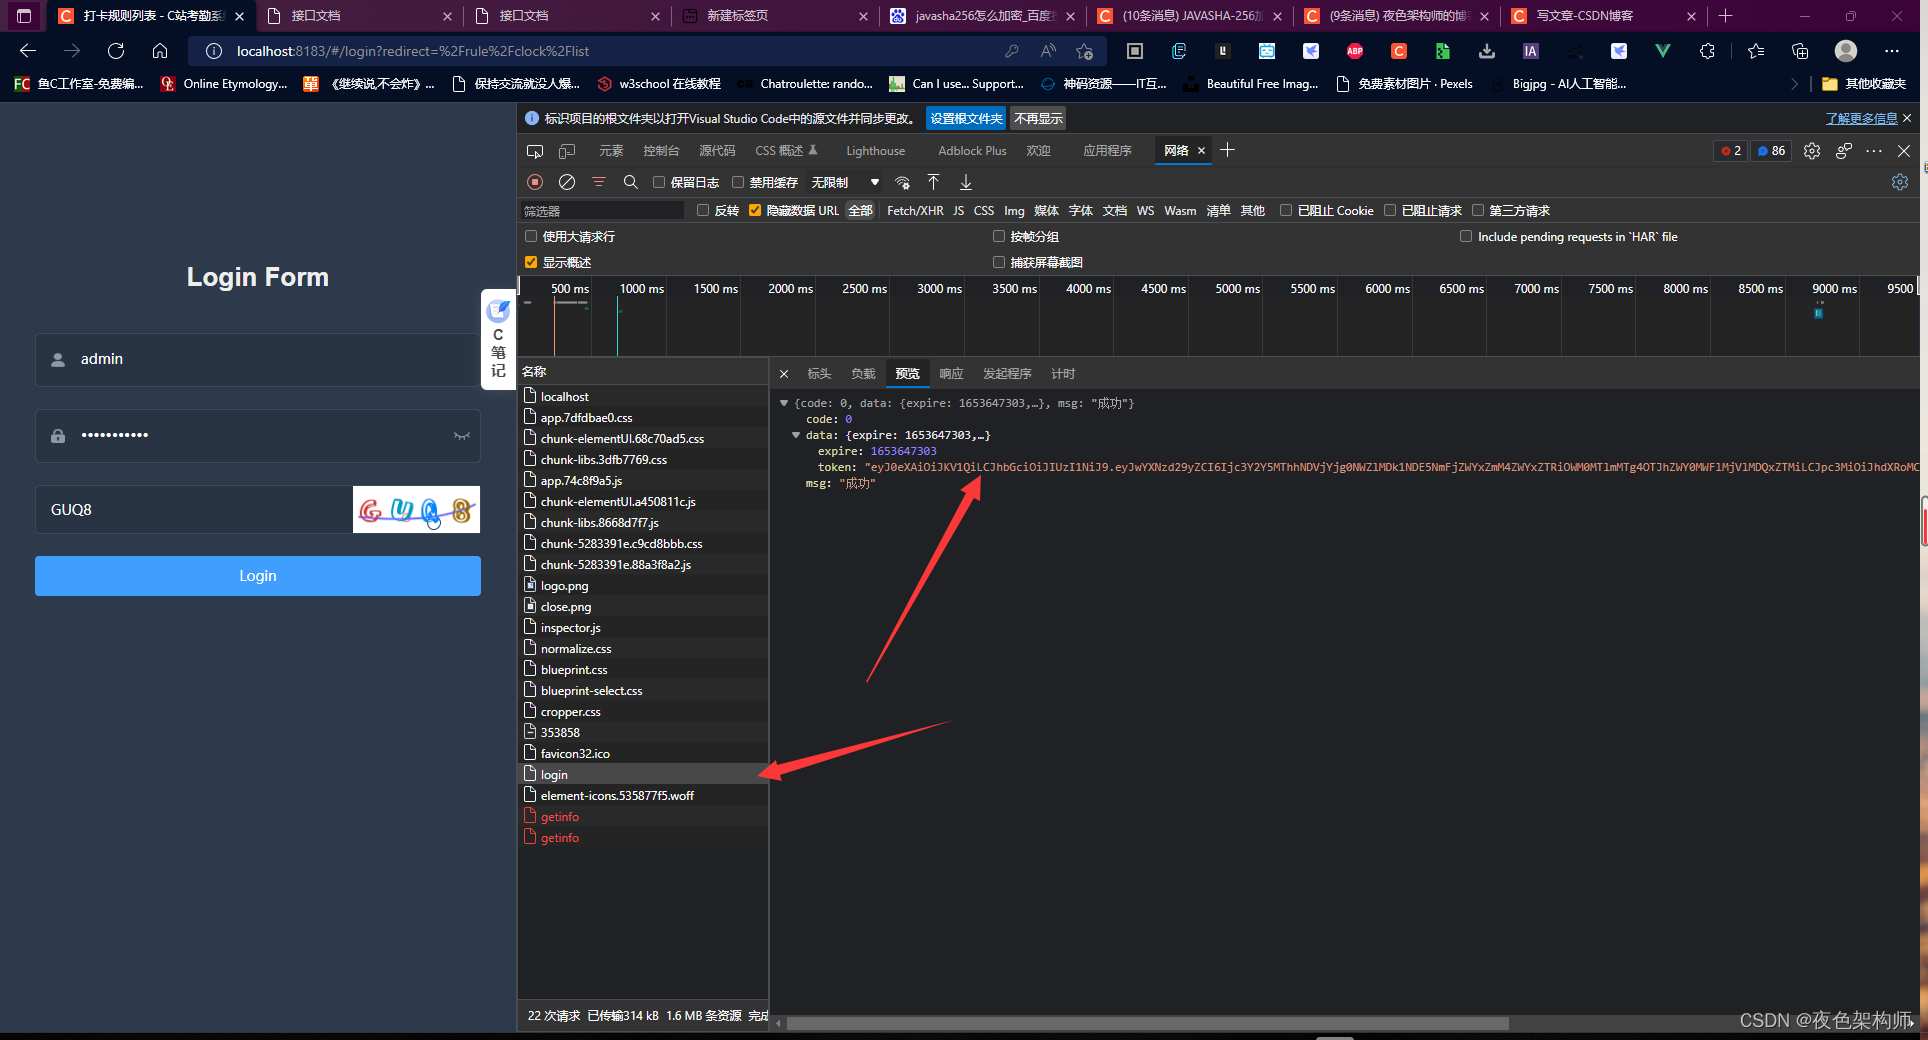
如果相等就返回给前端数据:下图是前端需要响应的代码示例,所以我们将中间的data返回数据使用HashMap封装起来,至于外面的code和msg就是使用一个封装类:

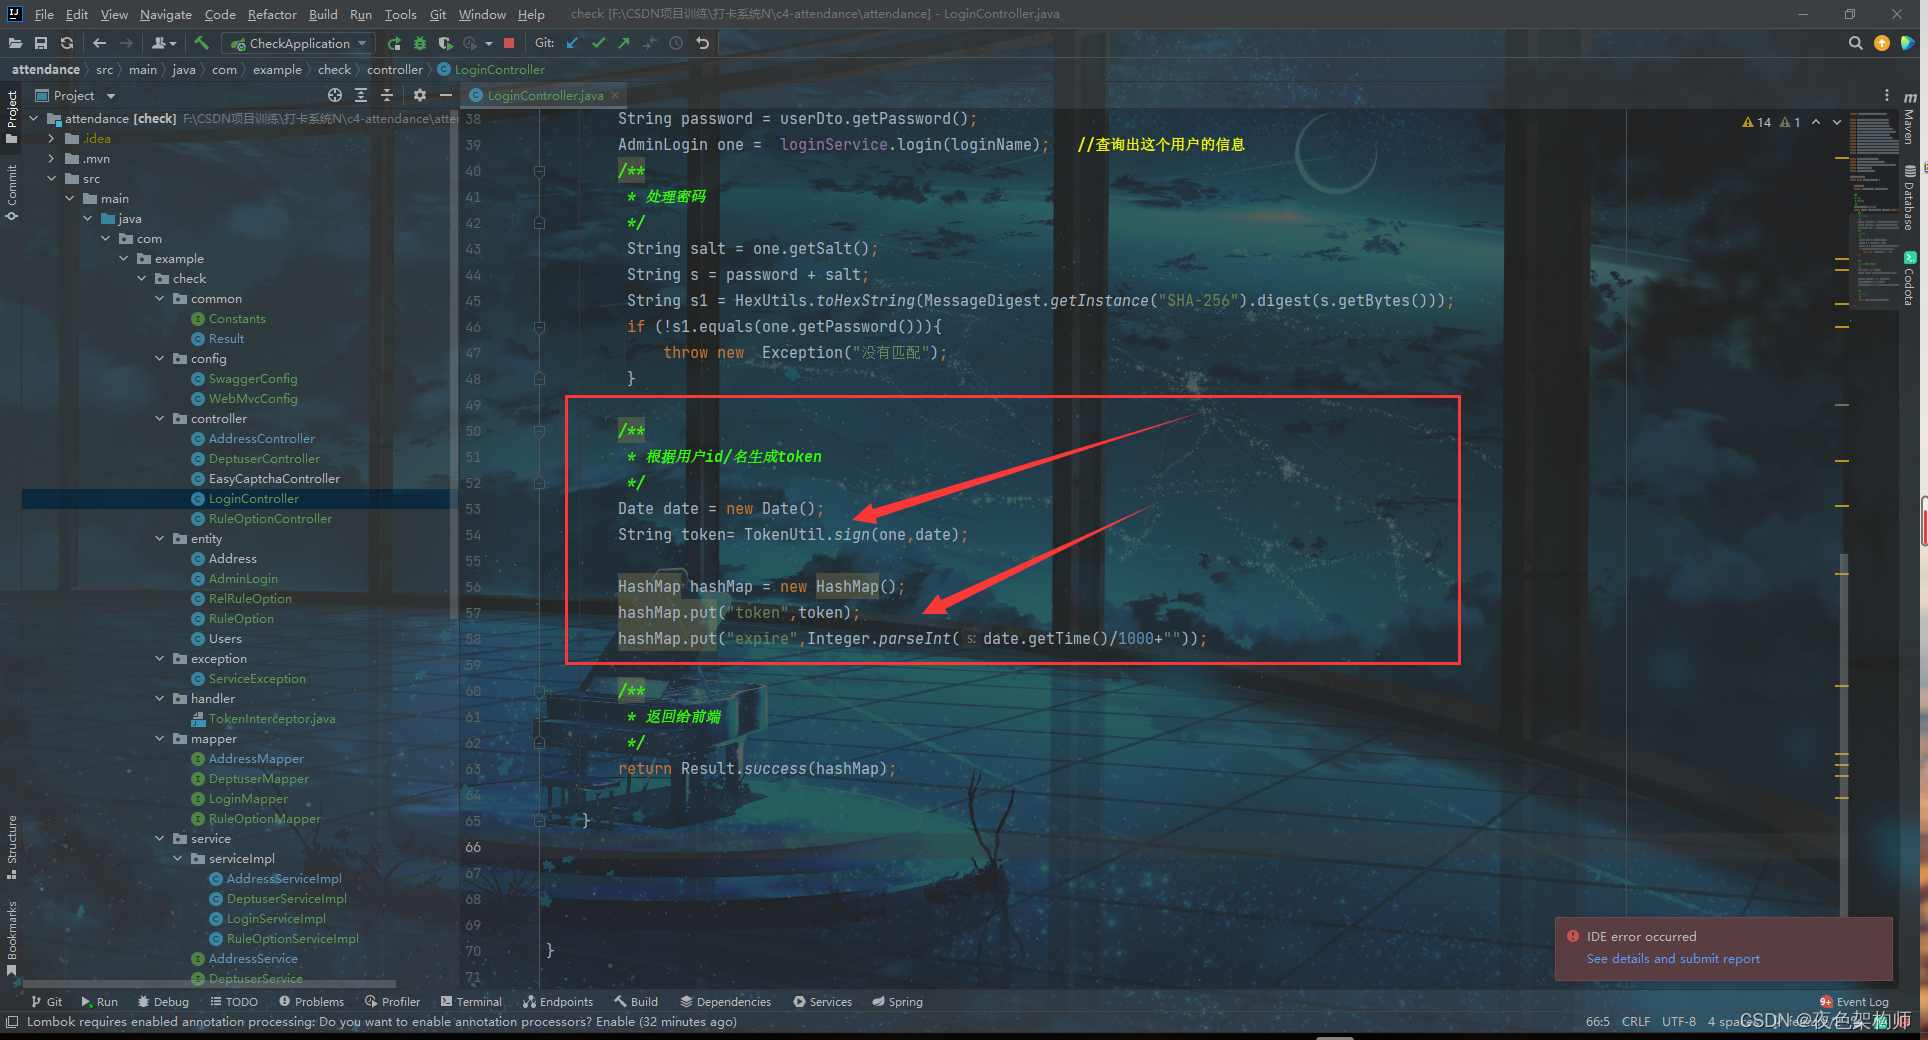
3:涉及到的一些工具类和跨域: TokenUtils:创建token中的sign,我们传入的第一个就是数据库中实体类,这里一定不要混淆,数据库中数据的实体类和前端传来参数的封装实体类,我这里数据库中的实体类是:AdminLogin:,然后第二个参数expires是指过期时间,这个我们自己设置就好,需要自己修改的地方还有就是:
 .withClaim("username",user.getLoginName())   //存放数据
 .withClaim("password",user.getPassword())
这里的user.getxxxxxx根据自己去调整

package com.example.check.util;
import com.auth0.jwt.JWT;
import com.auth0.jwt.JWTVerifier;
import com.auth0.jwt.algorithms.Algorithm;
import com.auth0.jwt.exceptions.JWTCreationException;
import com.auth0.jwt.exceptions.JWTDecodeException;
import com.auth0.jwt.exceptions.JWTVerificationException;
import com.auth0.jwt.interfaces.Claim;
import com.auth0.jwt.interfaces.DecodedJWT;
import com.example.check.entity.AdminLogin;
import java.util.Date;
/**
 * @author quxiang
 * @date 2021/12/30 13:53
 */
public class TokenUtil {
    private static final long EXPIRE_TIME= 60*1000;//token到期时间60s
    private static final String TOKEN_SECRET="l122adasw532df";  //密钥盐
    /**
     * 创建一个token
     * @param user
     * @return
     */
    public static String sign(AdminLogin user,Date expires){
        String token=null;
        try {
            token = JWT.create()
                    .withIssuer("auth0")//发行人
                    .withClaim("username",user.getLoginName())   //存放数据
                    .withClaim("password",user.getPassword())
                    .withExpiresAt(expires)//过期时间
                    .sign(Algorithm.HMAC256(TOKEN_SECRET));
        } catch (IllegalArgumentException|JWTCreationException je) {
        }
        return token;
    }
    /**
     * 对token进行验证
     * @param token
     * @return
     */
    public static Boolean verify(String token){
        try {
            JWTVerifier jwtVerifier=JWT.require(Algorithm.HMAC256(TOKEN_SECRET)).withIssuer("auth0").build();//创建token验证器
            DecodedJWT decodedJWT=jwtVerifier.verify(token);
            System.out.println("认证通过:");
            System.out.println("username: " + TokenUtil.getUsername(token));
            System.out.println("过期时间:    " + decodedJWT.getExpiresAt());
        } catch (IllegalArgumentException |JWTVerificationException e) {
            //抛出错误即为验证不通过
            return false;
        }
        return true;
    }
    /**
     * 获取用户名
     */
    public static String getUsername(String token)
    {
        try{
            DecodedJWT jwt=JWT.decode(token);
            return  jwt.getClaim("username").asString();
        }catch (JWTDecodeException e)
        {
            return null;
        }
    }
}
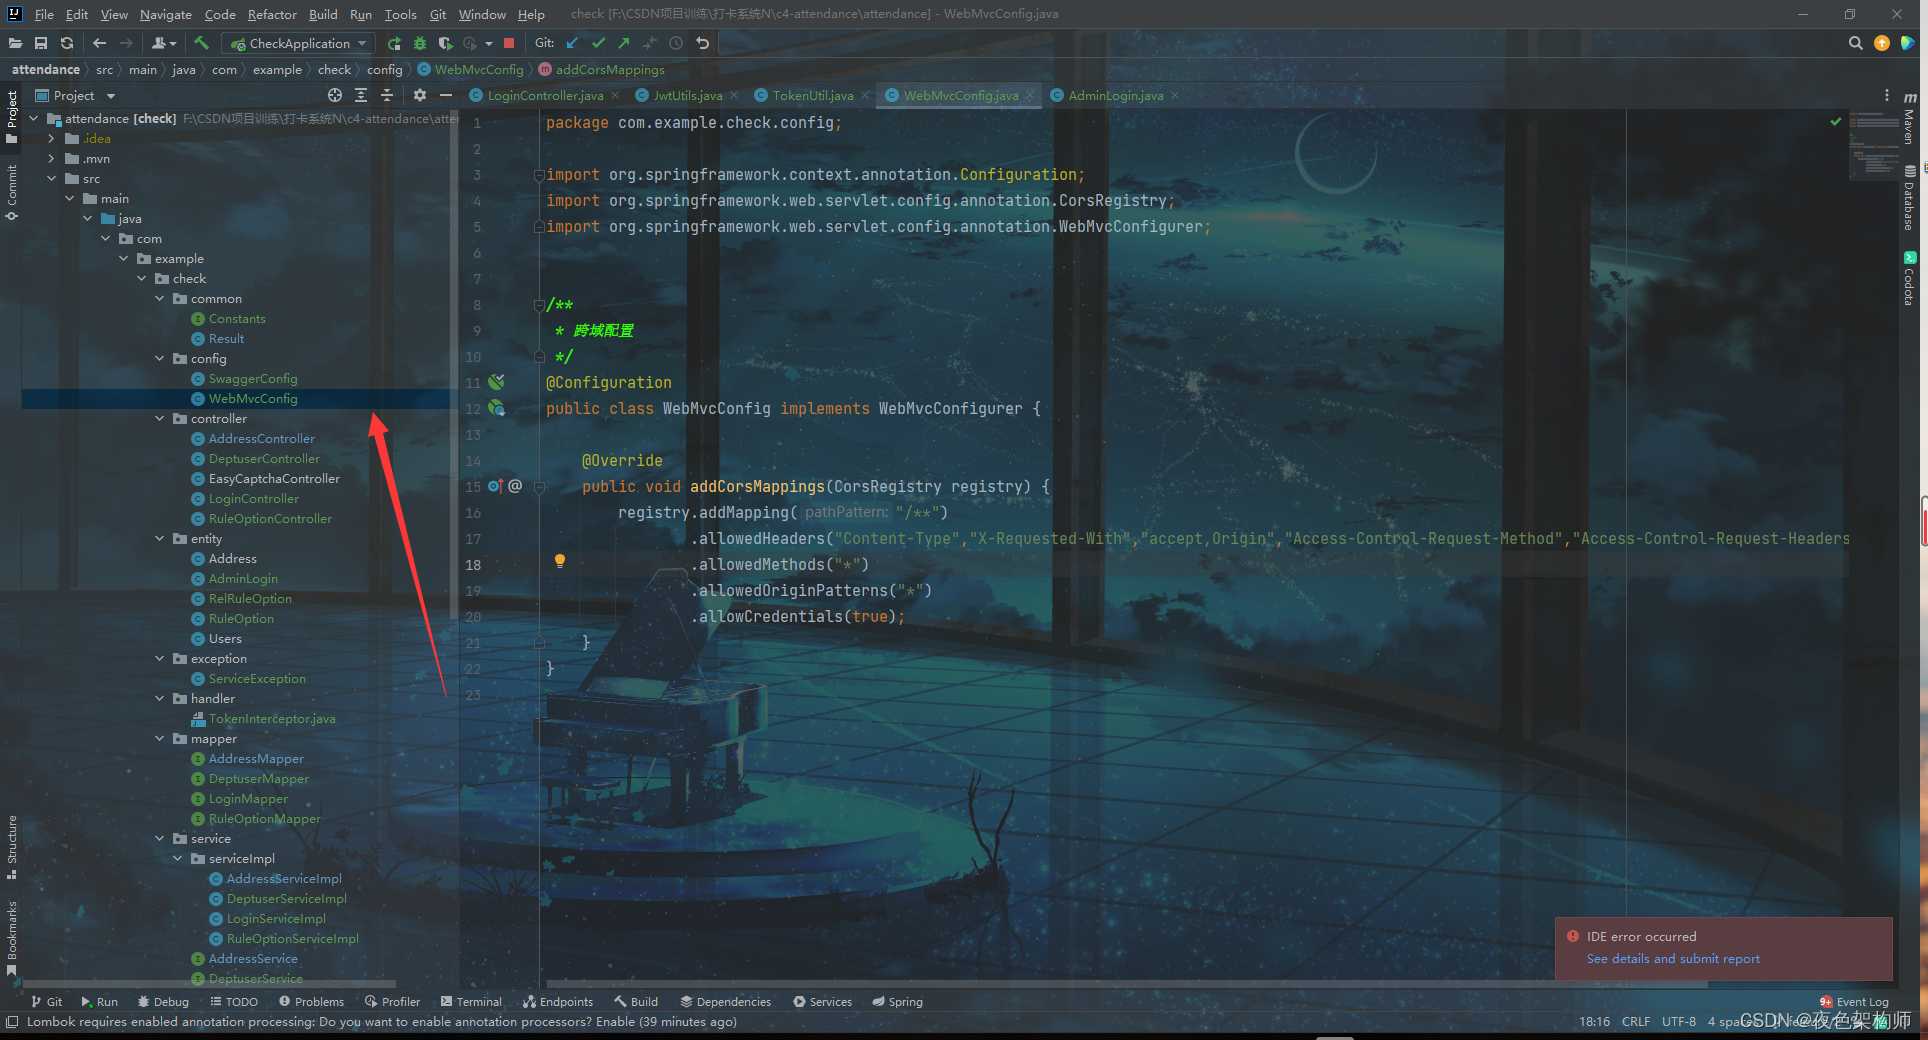
跨域:
package com.example.check.config;
import org.springframework.context.annotation.Configuration;
import org.springframework.web.servlet.config.annotation.CorsRegistry;
import org.springframework.web.servlet.config.annotation.WebMvcConfigurer;
/**
 * 跨域配置
 */
@Configuration
public class WebMvcConfig implements WebMvcConfigurer {
    @Override
    public void addCorsMappings(CorsRegistry registry) {
        registry.addMapping("/**")
                .allowedHeaders("Content-Type","X-Requested-With","accept,Origin","Access-Control-Request-Method","Access-Control-Request-Headers","token")
                .allowedMethods("*")
                .allowedOriginPatterns("*")
                .allowCredentials(true);
    }
}
然后我们打开前端界面:点击登录后就可以在后台看到已经传过去的参数:
以上就是SpringBoot集成JWT实现登陆验证的方法详解的详细内容,更多关于SpringBoot JWT登陆验证的资料请关注软件开发网其它相关文章!