Matplotlib使用Cursor实现UI定位的示例代码
Matplotlib编程实现
import matplotlib.pyplot as plt
import numpy as np
from matplotlib.widgets import Cursor
lineprops = dict(color="red", lw=2)
fig, ax = plt.subplots(1, 1, subplot_kw=dict(facecolor="lemonchiffon"))
x = np.random.random(100)
y = np.random.random(100)
ax.scatter(x, y, marker="o", color="red")
ax.set_xlim(-0.02, 1.02)
ax.set_ylim(-0.02, 1.02)
cursor = Cursor(ax, useblit=True, **lineprops)
plt.show()
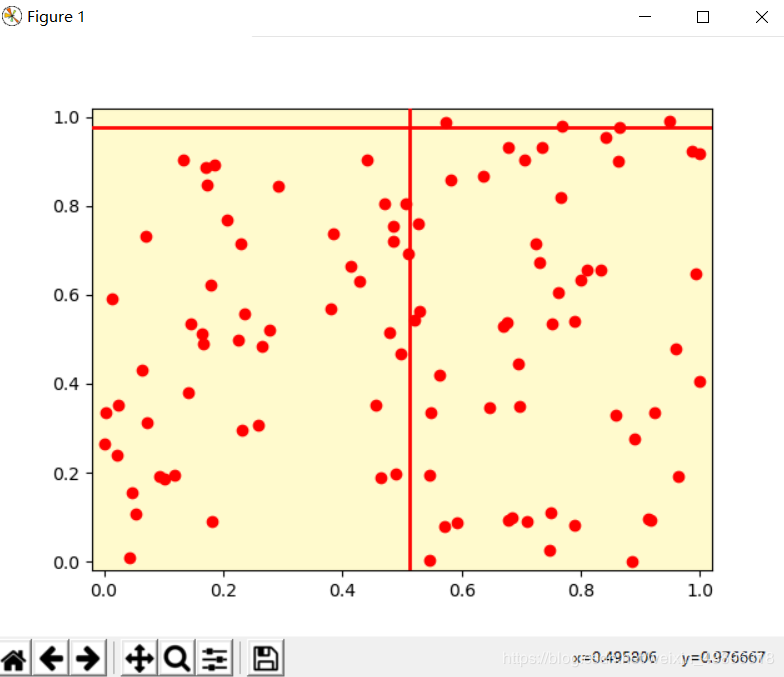
成品截图

说明
这是一个动态的UI效果图,所以自己体验体验就知道了,挺好玩儿的。
如果使用PyCharm生成了静态的图,而不是动态的,请看这篇博文 → Here
到此这篇关于Matplotlib使用Cursor实现UI定位的示例代码的文章就介绍到这了,更多相关Matplotlib UI定位内容请搜索软件开发网以前的文章或继续浏览下面的相关文章希望大家以后多多支持软件开发网!
您可能感兴趣的文章:PyCharm中Matplotlib绘图不能显示UI效果的问题解决Python matplotlib 画图窗口显示到gui或者控制台的实例pip matplotlib报错equired packages can not be built解决