Elasticsearch---(2)Linux下安装ELK(Elasticsearch、Kibana、logstash)
elastic下载地址:elasticsearch6.8.7

kibana下载地址:kibana6.8.7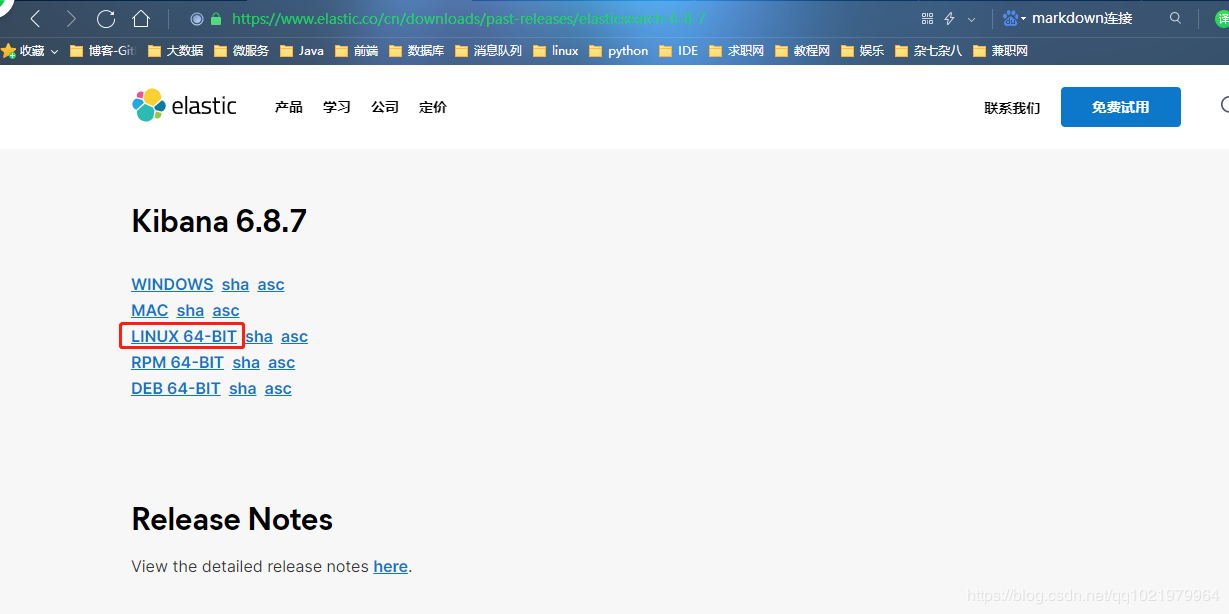
logstash下载地址:logstash6.8.7
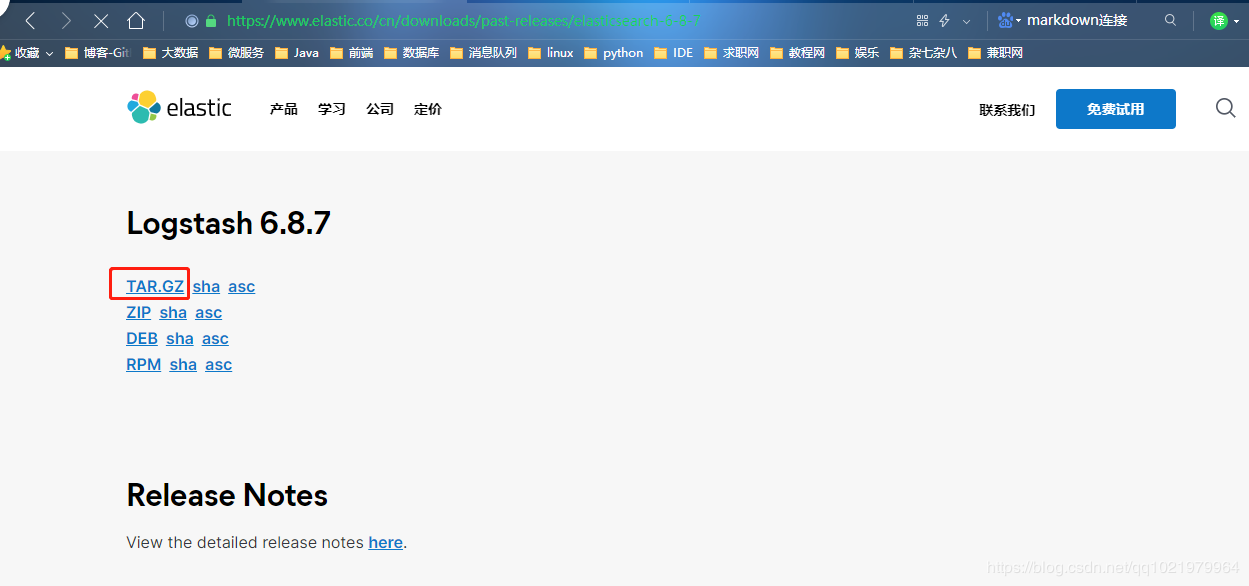
将下载好的文件传输到linux中

在安装ES之前需要先安装Java配置环境。这个百度一下吧,我机器上都有装了,就不示范了。
es不能在root用户上运行,需要在普通用户运行,但我已经有用户了就不重新新建了。
4.安装Elasticsearch4.1 解压es文件,并来到bin目录下
tar -zxvf elasticsearch-6.8.7.tar.gz -C /home/grid/
ls
cd elstaicsearch-6.8.7/bin/


4.2 启动es,在es的bin目录下
./elstaicsearch
后台启动可以 ./elasticsearch -d

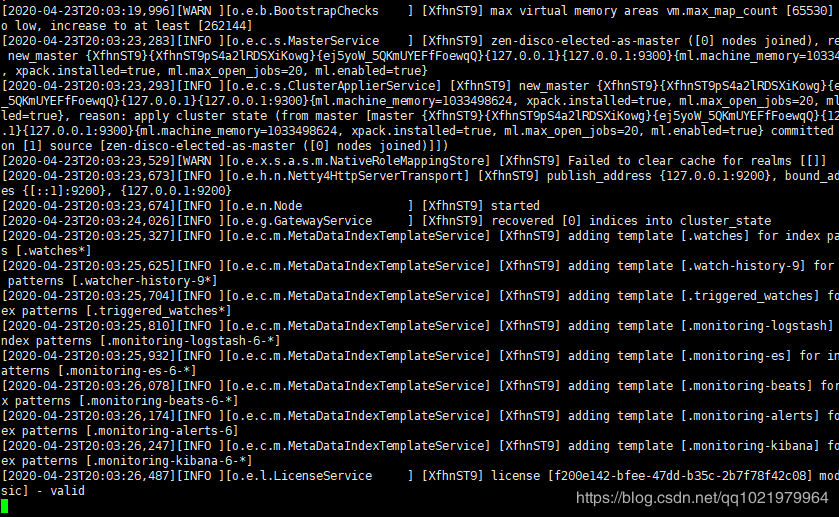
4.3 测试连接(另起一个界面),会看到一份JSON数据
curl 127.0.0.1:9200
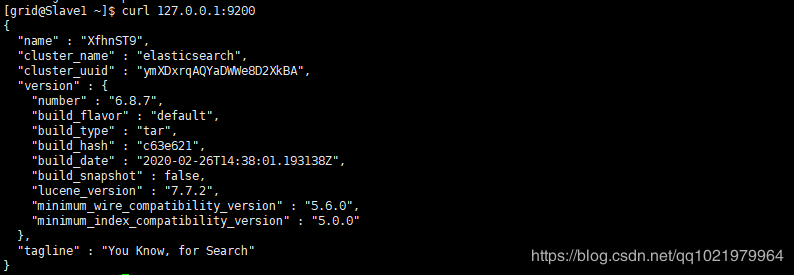
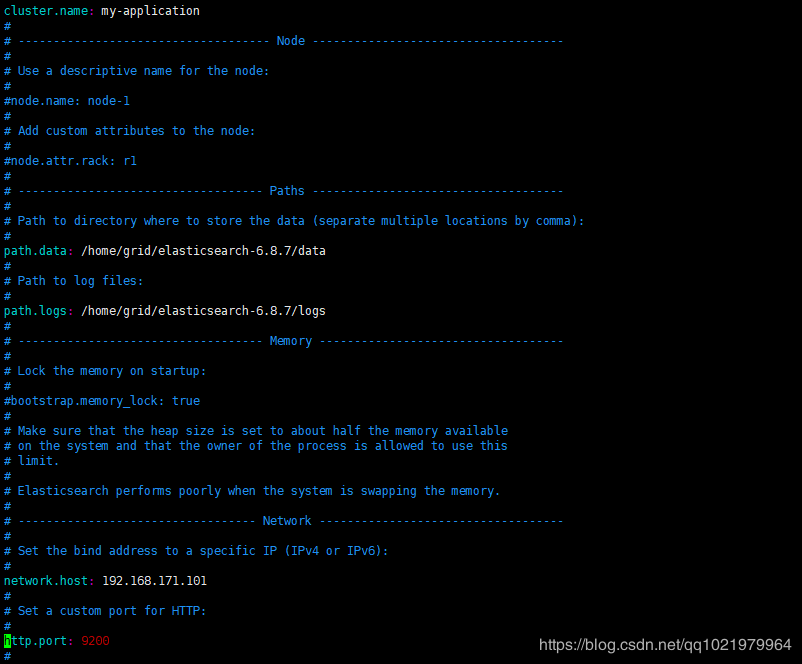
4.4 实现远程访问,在config/elasticsearch.yml配置
vi elasticsearch.yml

需要修改的配置内容,cluster.name(集群名称),path.data(数据存放位置),path.logs(日志存放位置),network.host(集群ip),http.port(集群端口)
cluster.name: my-application
path.data: /home/grid/elasticsearch-6.8.7/data
path.logs: /home/grid/elasticsearch-6.8.7/logs
network.host: 192.168.171.101
http.port: 9200
4.5 重新启动es
./elstaicsearch

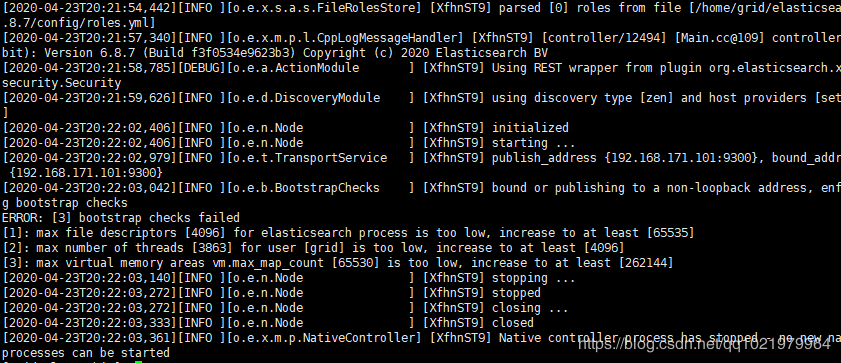
出现错误,无法启动
ERROR: [3] bootstrap checks failed
[1]: max file descriptors [4096] for elasticsearch process is too low, increase to at least [65535]
[2]: max number of threads [3863] for user [grid] is too low, increase to at least [4096]
[3]: max virtual memory areas vm.max_map_count [65530] is too low, increase to at least [262144]
来root用户修复问题
修复问题[1],修改limits.conf文件
su root
vi /etc/security/limits.conf

grid soft nofile 65536
grid hard nofile 65536
grid soft nproc 4096
grid hard nproc 4096

修复问题[2],修改20-nproc.conf文件
vi /etc/security/limits.d/20-nproc.conf
![]()
grid soft nproc 4096

修复问题[3],修改sysctl.conf文件
vi /etc/sysctl.conf

vm.max_map_count=655360

执行以下命令生效,并且关闭防火墙
sysctl -p
systemctl stop firewalld.service

重启虚拟机,并且在grid用户,再次重启启动es
./elstaicsearch

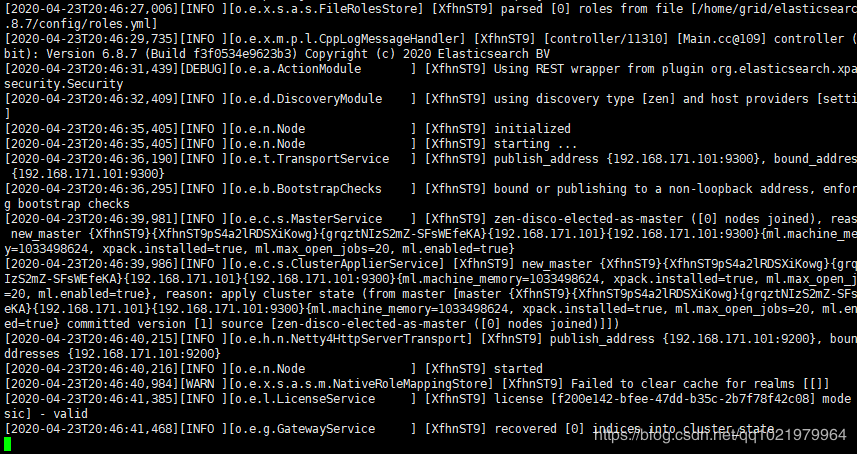
4.7 启动成功,访问网址测试连接
http://slave1:9200/

elasticsearch-head-master是es的集群管理工具,可以用来数据的浏览和查询。
head是开源软件,托管在github,需要在github下载,地址:git://github.com/mobz/elasticsearch-head.git。
head的运行需要用到grunt,而grunt需要npm,所以需要安装nodejs。
es5.0之后,head已经不做为插件方在plugins目录,直接拷贝在本地就行。
nodejs下载地址:nodejs下载地址
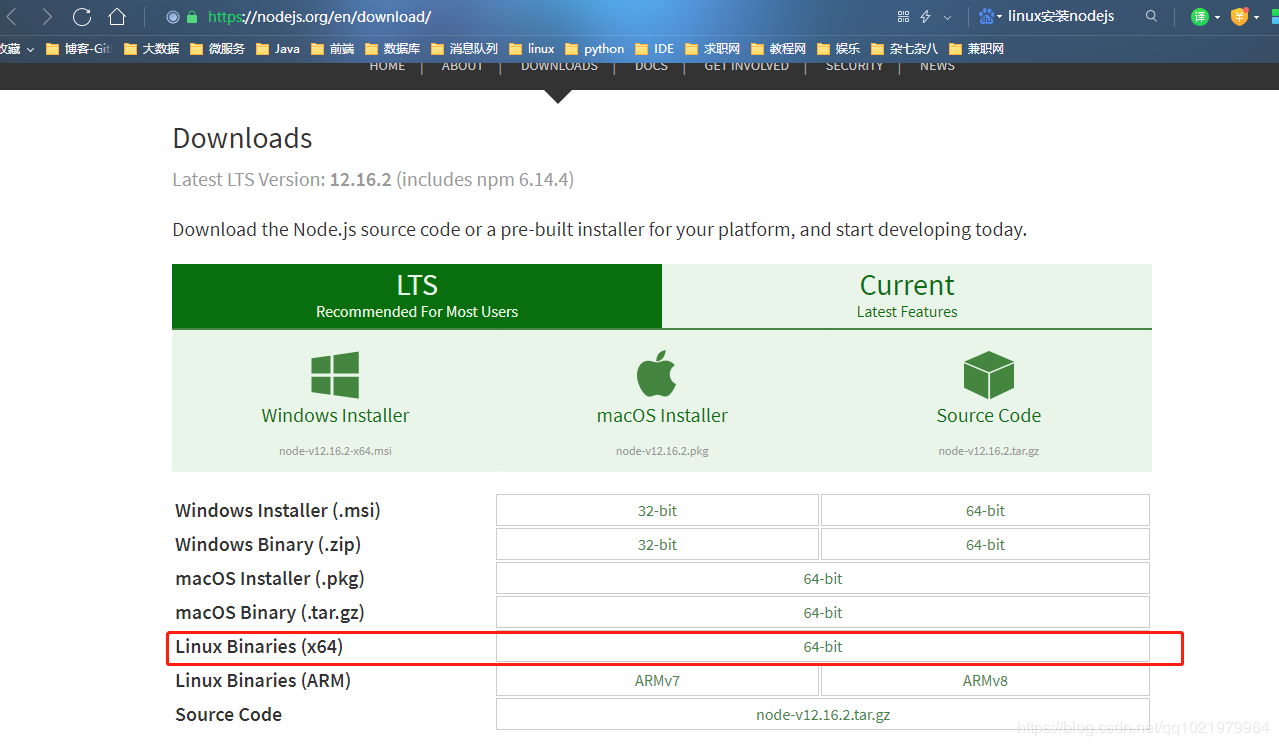
5.1.1 将nodejs传输到linux中的/home/grid/software目录
5.1.2 转到root用户,将nodejs解压到/usr目录下
su root
tar xf node-v12.16.1-linux-x64.tar.xz -C /usr/
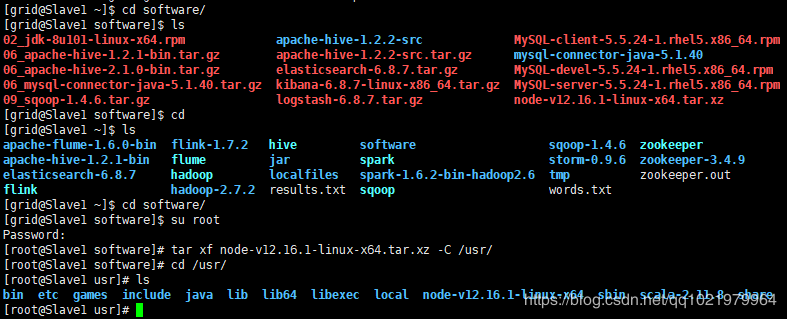
5.1.3 重命名nodejs文件夹,并且配置环境变量
mv node-v12.16.1-linux-x64 node-v12.16.1
vi /etc/profile

export NODEJS_HOME=/usr/node-v12.16.1
:$NODEJS_HOME/bin

5.1.4 让配置文件生效
source /etc/profile
![]()
5.1.5 验证是否安装成功,查看node版本
node -v

5.2.1 下载elasticsearch-head-master
head下载地址:head下载地址
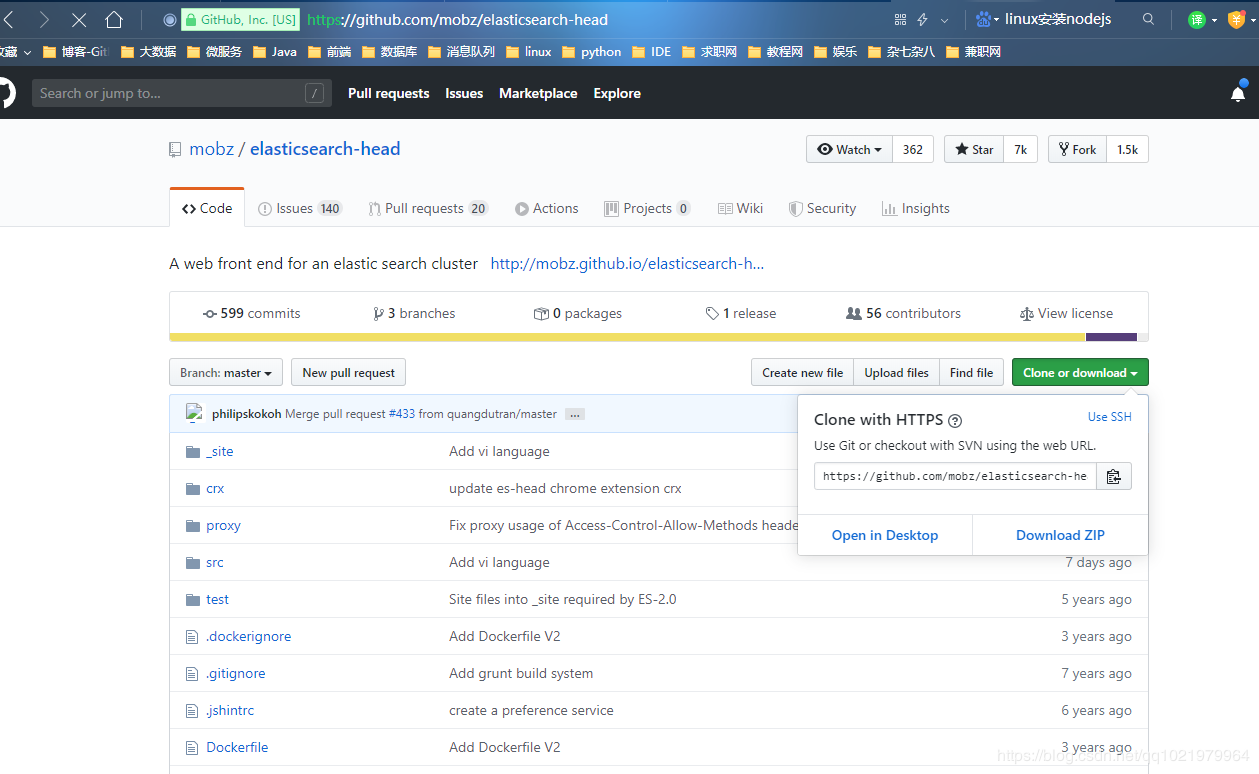
将下载好的head传输到linux的/home/grid目录

5.2.2 安装grunt-cli
npm install -g grunt-cli

5.2.3 来到head目录下安装head的依赖包
cd elasticsearch-head-master/

注:直接使用npm install下载速度可能会比较慢,可以用阿里云的镜像下载
npm install -g cnpm --registry=https://registry.npm.taobao.org
或者
npm install

5.2.4 查看版本
grunt -version

5.2.5 修改Gruntfile.js配置文件
vi Gruntfile.js

在connect–>server–>options下面添加:hostname:’*’,允许所有IP可以访问
hostname:'*',

5.2.6 修改_site目录下的app.js中head的默认连接地址
cd _site
vi app.js

"http://localhost:9200"改成"http://192.168.171.101:9200"

5.2.7 配置es允许跨域访问,es目录下的config的elasticsearch.yml
cd config
vi elasticsearch.yml

在文件末尾追加
http.cors.enabled: true
http.cors.allow-origin: "*"

5.2.8 启动head
grunt server

5.2.9 在浏览器访问head
http://slave1:9100

6.1 将已经下载好的Kibana传输到linux的/home/grid/software目录
6.2 解压缩kibana
tar -zxvf kibana-6.8.7-linux-x86_64.tar.gz -C /home/grid/


6.3 修改配置文件在config下的kibana.yml
cd kibana-6.8.7-linux-x86_64/config/
vi kibana.yml

server.port: 5601
server.host: "192.168.171.101"
elasticsearch.hosts: ["http://192.168.171.101:9200"]
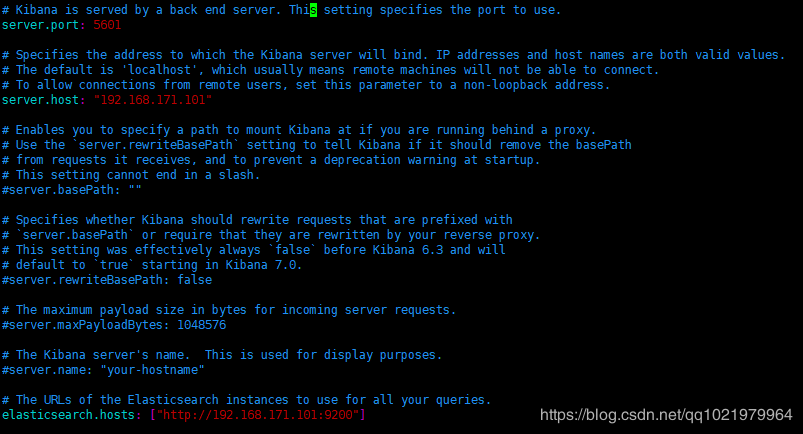
6.4 启动kibana,在kibana的bin目录下执行
启动kibana之前需要先启动elasticsearch
./kibana


6.5 在浏览器访问kibana
http://slave1:5601/

7.1 将logstash传输到linux下的/home/grid/software目录
7.2 解压缩logstash
tar -zxvf logstash-6.8.7.tar.gz -C /home/grid/


7.3 启动logstash小案例
./logstash -e 'input { stdin { } } output { stdout {} }'
![]()
启动成功
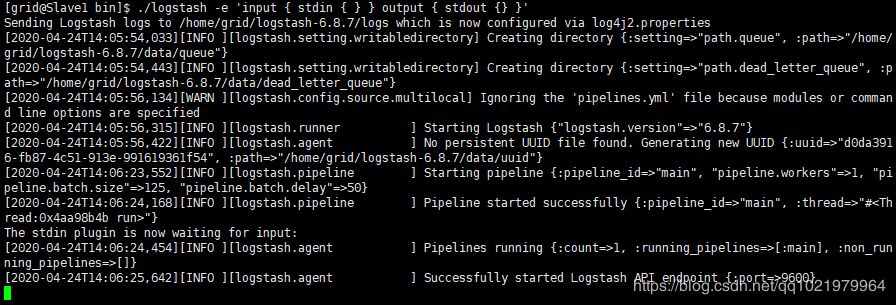
一般启动logstach是需要配置input,output
比如新建一个demo,在demo中新建一个xxx.conf,将input和output配置在conf时启动方式:
./logstash -f ../demo/xxx.conf
8.Linux启动ELK步骤
8.1 启动elasticsearch
elasticsearch目录下(master)
./bin/elasticsearch
8.2 启动elasticsearch-head-master
elasticsearch-head-master目录下
grunt server
8.3 启动kibana
kibana目录下
./bin/kibana
8.4 启动logstash(选择性是否启动)
logstash目录下
./bin/logstash -e 'input {stdin {} } output{ stdout {}}'
至此ELK都安装成功
作者:Mr Cao