阿里云repo方式安装zabbix4.0
1.安装zabbix的repo源
rpm -ivh https://mirrors.tuna.tsinghua.edu.cn/zabbix/zabbix/4.0/rhel/7/x86_64/zabbix-release-4.0-2.el7.noarch.rpm

修改zabbix.repo替换为清华的地址
:%s#repo.zabbix.com#mirrors.tuna.tsinghua.edu.cn/zabbix#g
2.安装zabbix-server-mysql和zabbix-web-mysql
yum install zabbix-server-mysql zabbix-web-mysql -y

3.安装配置数据库mariadb-server,导入数据库
yum install mariadb-server -y

systemctl enable mariadb.service
systemctl start mariadb.service
# 初始化
mysql_secure_installation
mysql -uroot -p
CREATE DATABASE zabbix character set utf8 collate utf8_bin;
GRANT all ON zabbix.* TO 'zabbix'@'%' IDENTIFIED BY 'root123';
flush privileges;
quit
# 查询sql路径
rpm -ql zabbix-server-mysql
cd /usr/share/doc/zabbix-server-mysql-4.0.19/
# 解压sql文件
gzip -d create.sql.gz
# 执行导入
mysql -uzabbix -proot123 zabbix < create.sql
4.修改zabbix-server的配置文件
vim /etc/zabbix/zabbix_server.conf
# 修改一下项
DBHost=localhost
DBName=zabbix
DBUser=zabbix
DBPassword=root123
systemctl enable zabbix-server.service
systemctl start zabbix-server.service
netstat -nltp
# 查看启动日志
vim /var/log/zabbix/zabbix_server.log
5.修改zabbix-web配置文件
# 修改时区
vim /etc/httpd/conf.d/zabbix.conf
# php_value date.timezone Asia/Shanghai
# 启动apache
systemctl enable httpd
systemctl start httpd
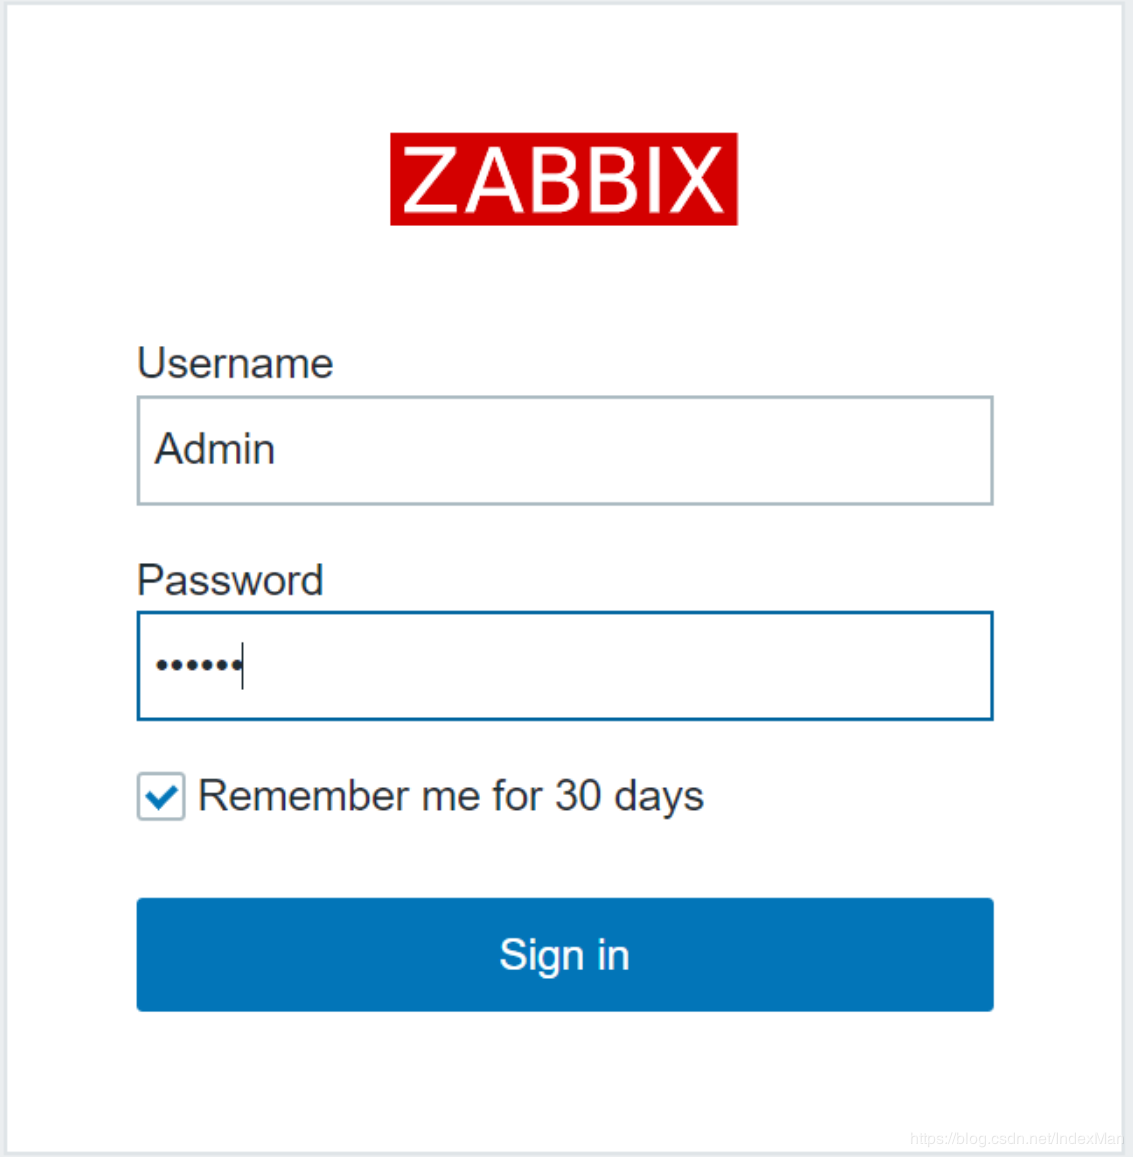
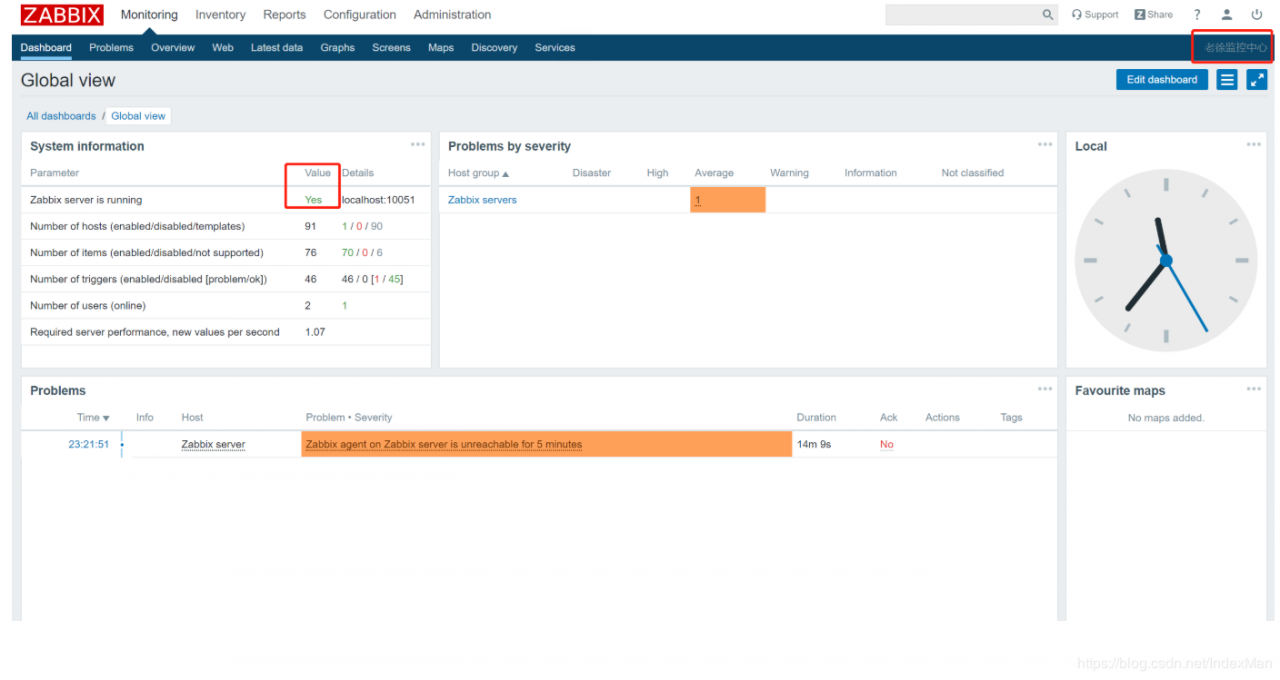
配置web
http://ip地址/zabbix
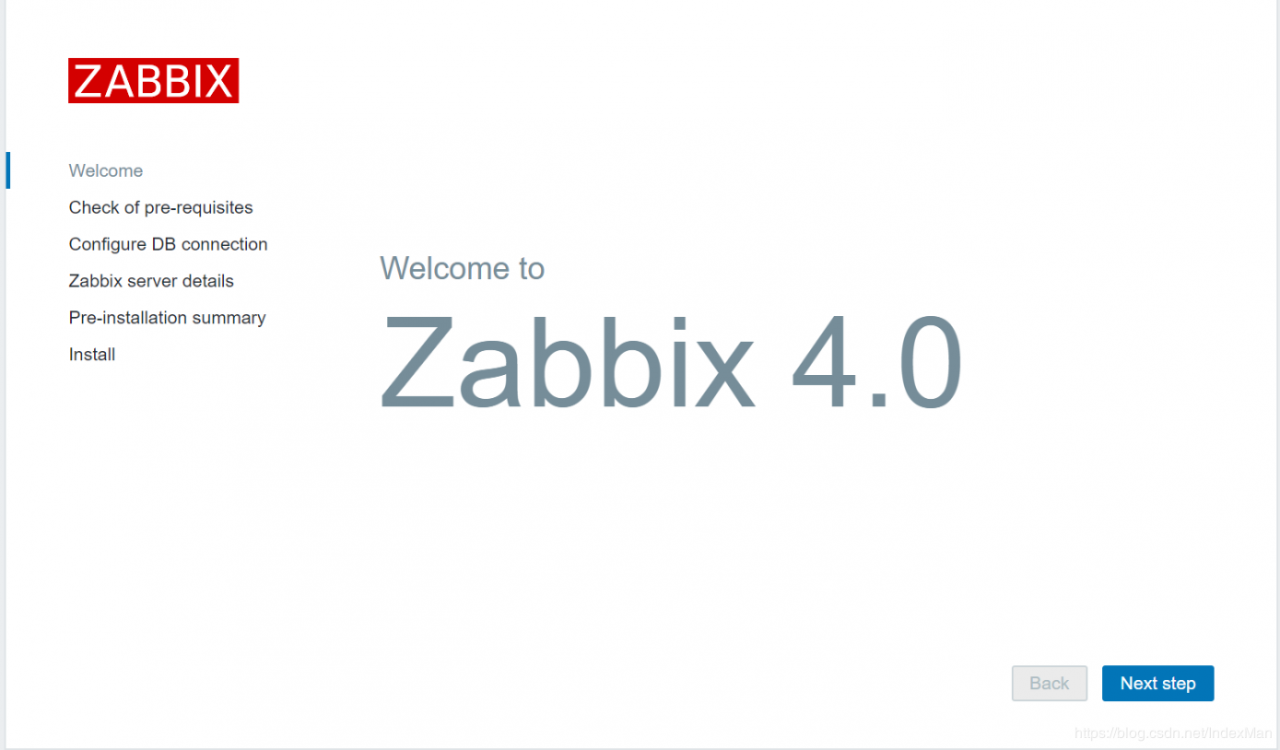
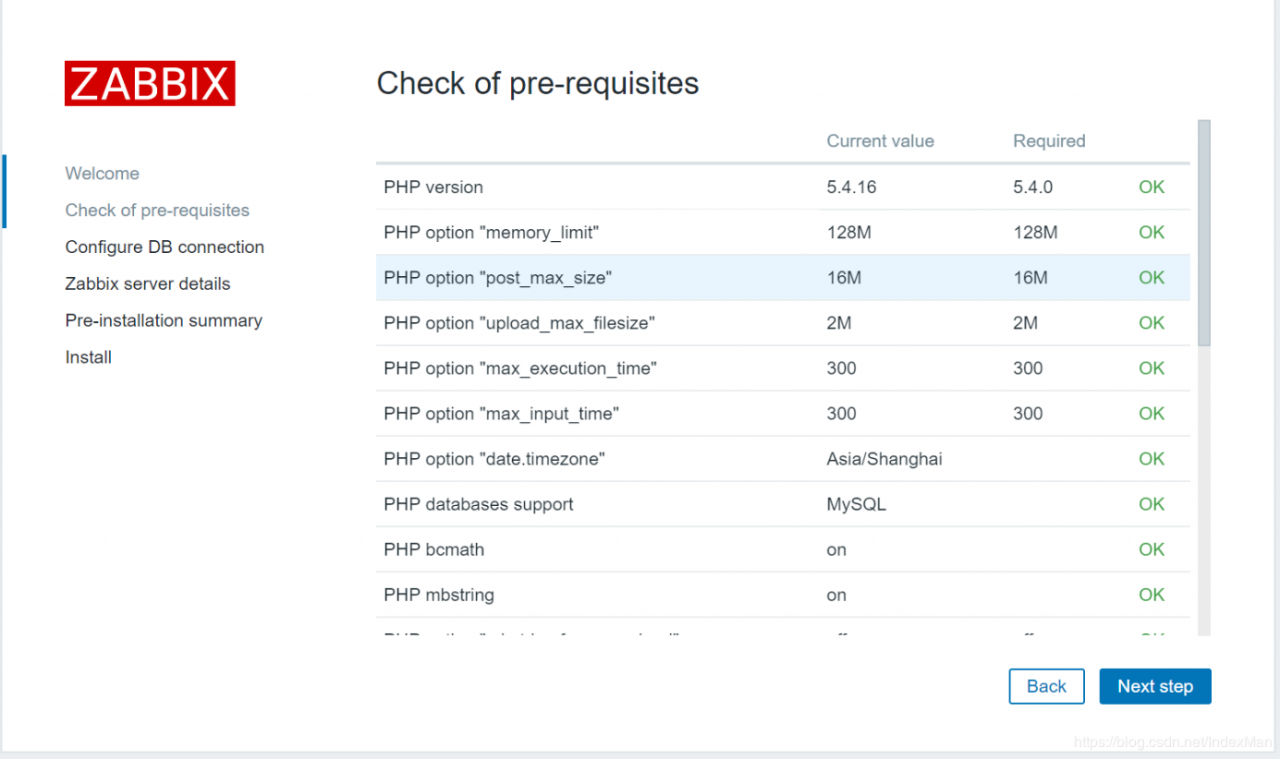

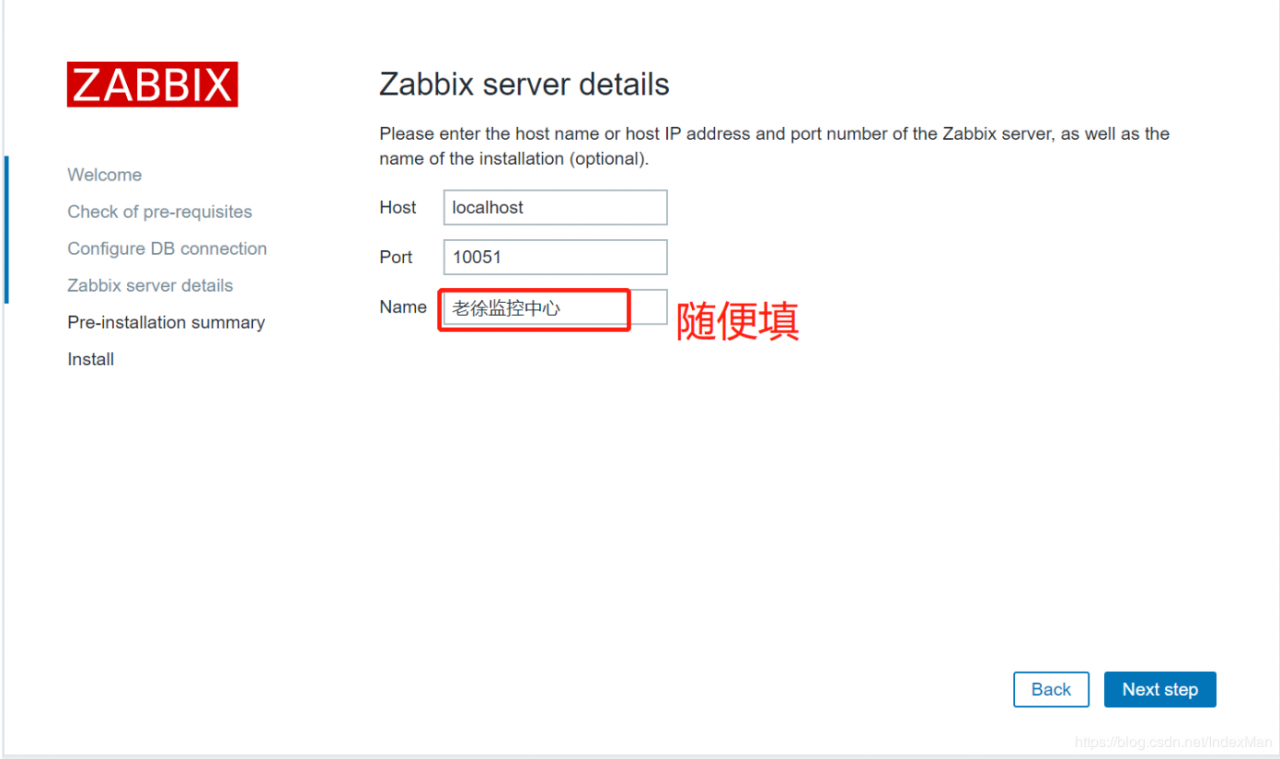

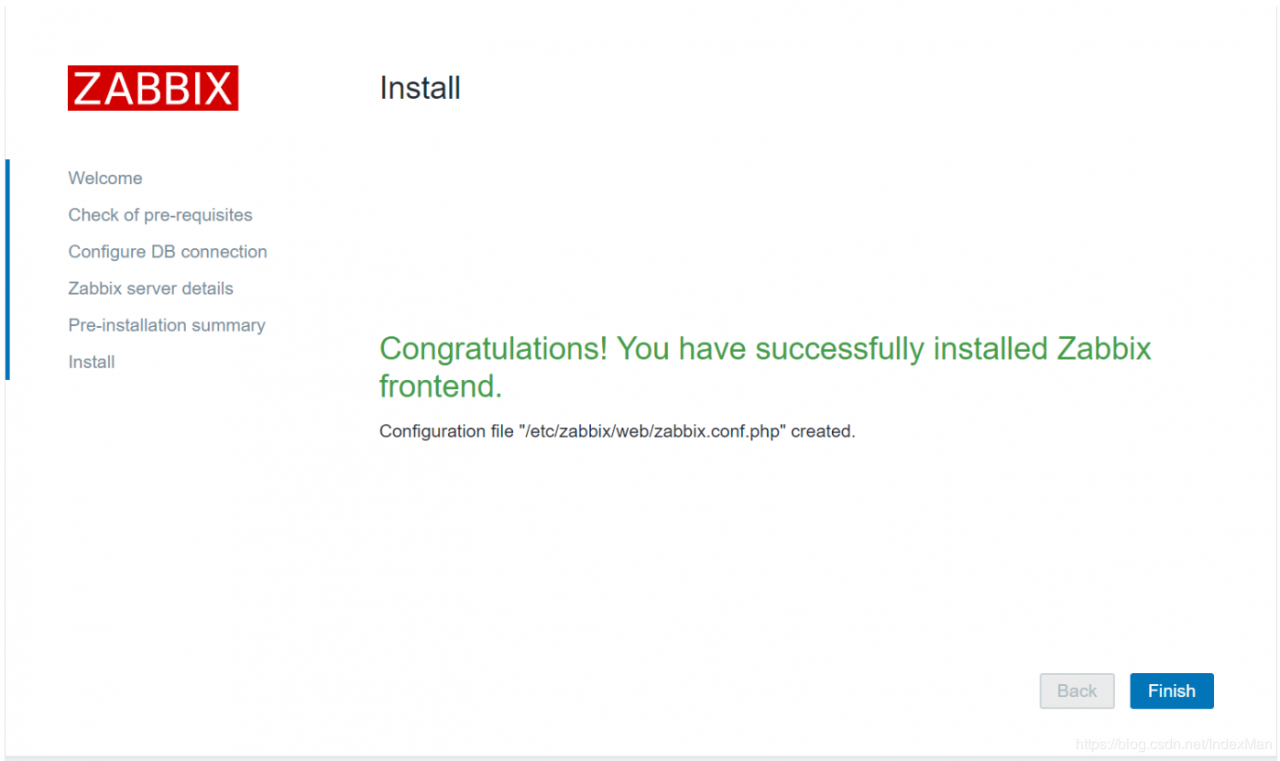
默认用户名:Admin 密码:zabbix
yum install zabbix-agent -y
systemctl enable zabbix-agent.service
systemctl start zabbix-agent.service
在非zabbix-server机器上添加
wget https://mirrors.tuna.tsinghua.edu.cn/zabbix/zabbix/4.0/rhel/7/x86_64/zabbix-agent-4.0.9-3.el7.x86_64.rpm
rpm -ivh zabbix-agent-4.0.9-3.el7.x86_64.rpm
# 修改配置
vim /etc/zabbix/zabbix_agentd.conf
# Server=服务端IP
# 启动
systemctl enable zabbix-agent.service
systemctl start zabbix-agent.service
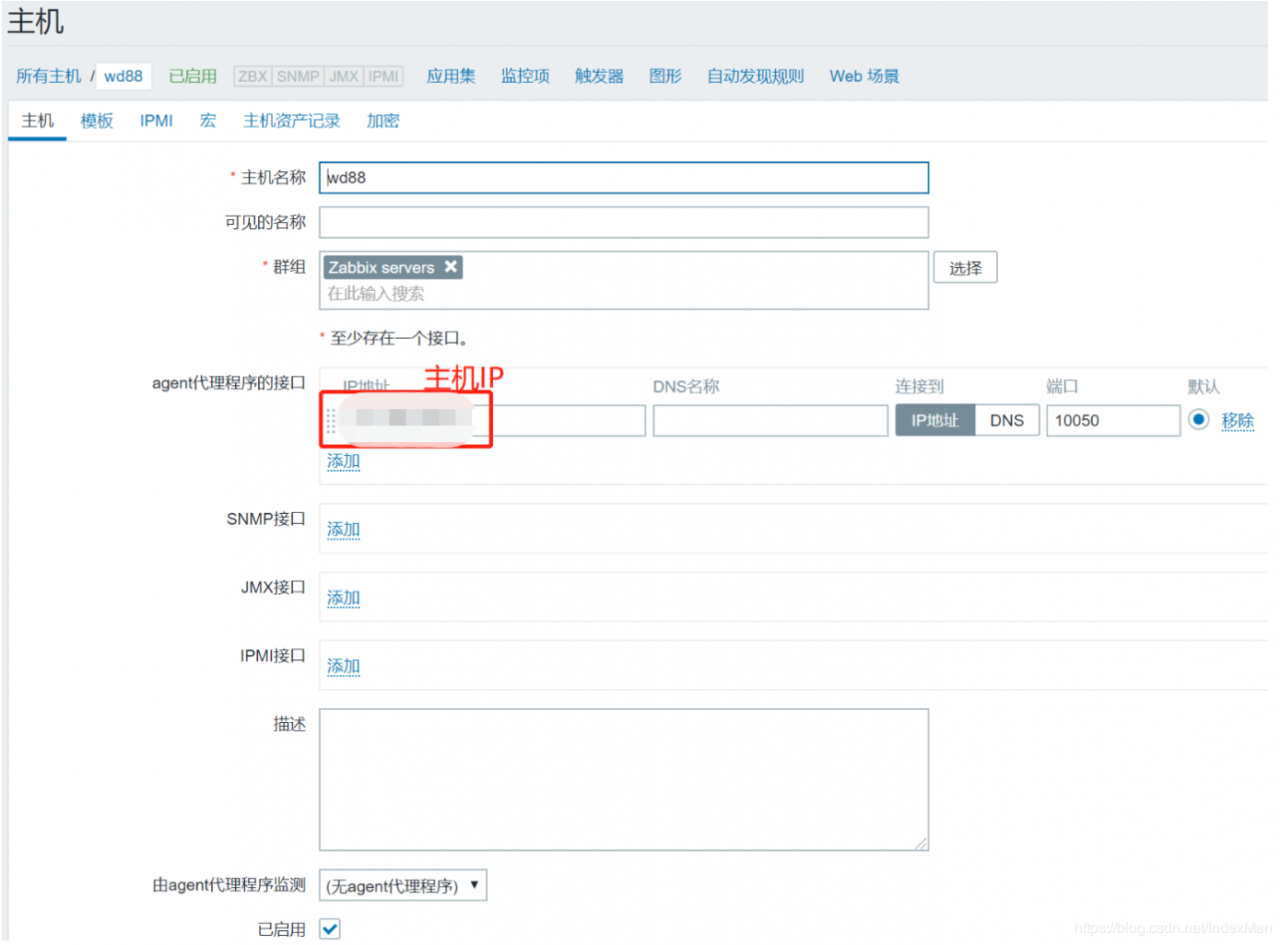
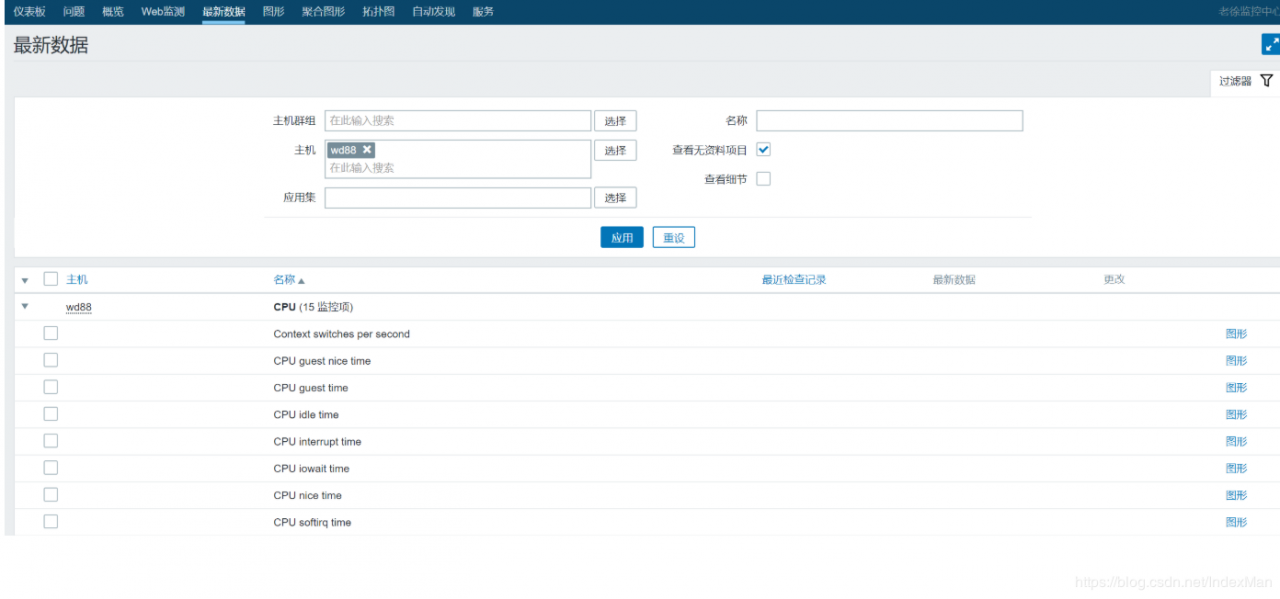
3.web端添加主机
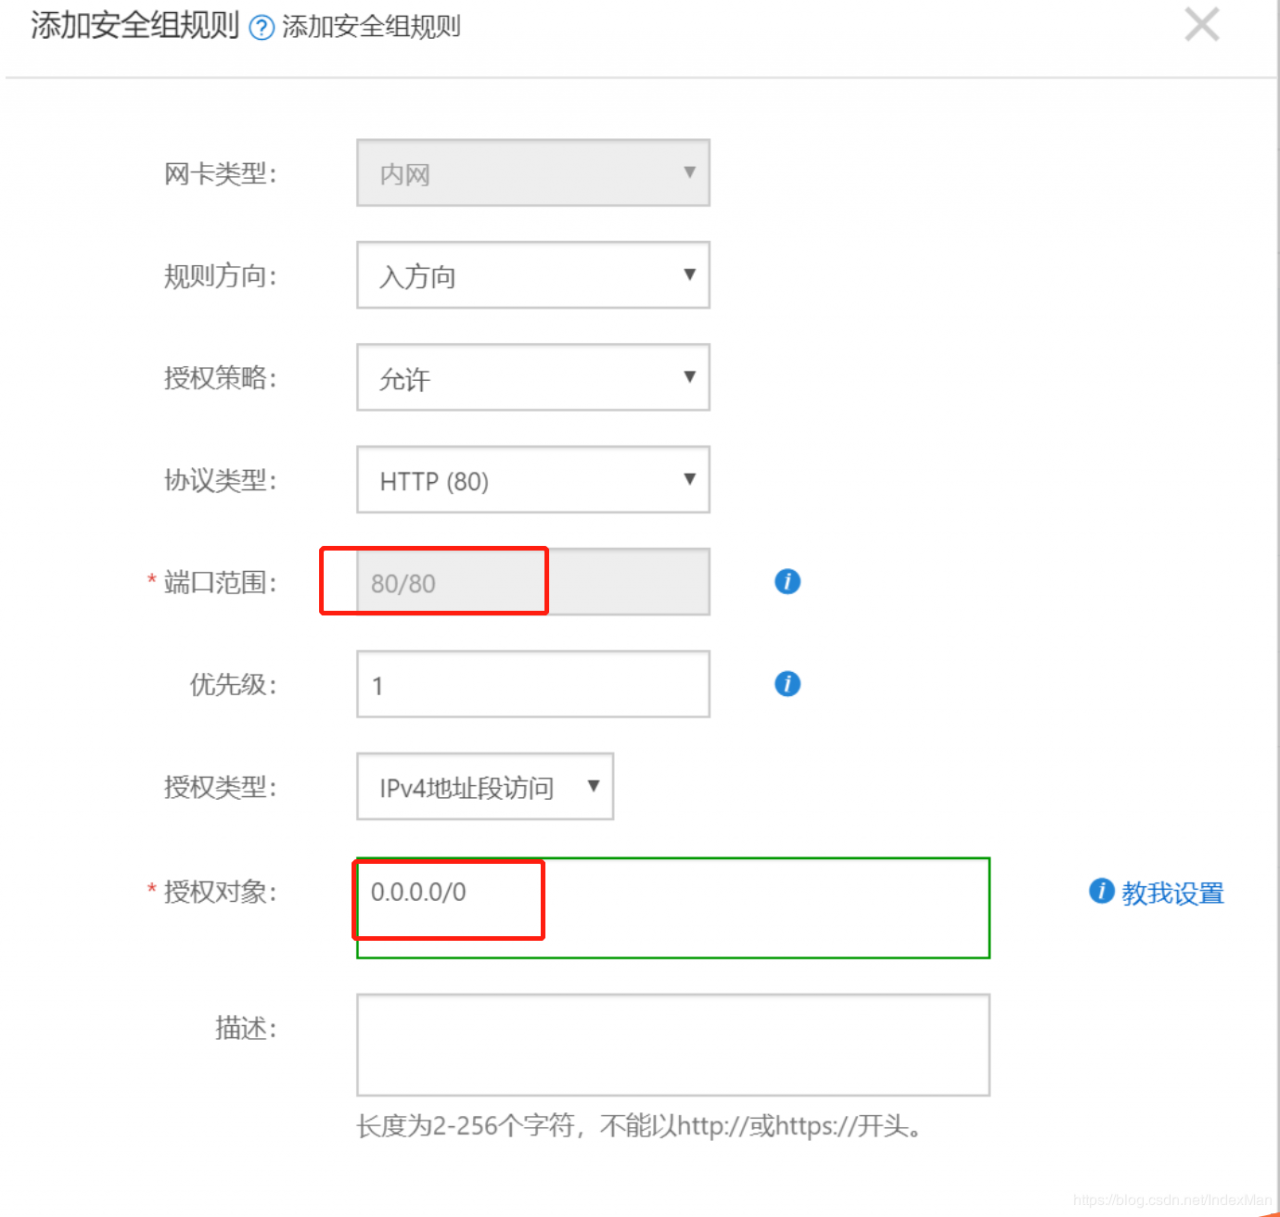
1.阿里云开放端口:以80端口为例
作者:罗汉爷