Android Studio实现搜索栏
前言
一、何为自定义控件?系统自带的控件都是直接或间接继承自View的,View是Android中最基本的UI组件库。当系统的自带控件无法满足需求时,依据控件的继承结构来制作自定义控件,例如:顶部搜索栏
1.引入布局
如果在每一个Activity的布局中都编写一个搜索栏,会导致代码的重复。通过采用引入布局的形式,可以解决这个问题。
首先在layout目录下创建一个select.xml布局,代码如下:
<?xml version="1.0" encoding="utf-8"?>
<LinearLayout xmlns:android="http://schemas.android.com/apk/res/android"
    android:orientation="horizontal" android:layout_width="match_parent"
    android:layout_height="50dp"
    android:background="@drawable/back001">
    <ImageView
        android:id="@+id/select_p01"
        android:layout_marginTop="2dp"
        android:layout_width="46dp"
        android:layout_height="41dp"
        android:src="@drawable/select_photo01" />
    <EditText
        android:id="@+id/select01"
        android:layout_marginTop="6dp"
        android:layout_width="250dp"
        android:layout_height="35dp"
        android:layout_marginLeft="10dp"
         <!--采用edittext_shap01样式-->
        android:background="@drawable/edittext_shape01"/>
    <ImageButton
        android:id="@+id/select_p02"
   <!-- 清除按钮背景-->
        style="?android:attr/borderlessButtonStyle"
        android:layout_marginTop="0dp"
        android:layout_width="53dp"
        android:layout_height="50dp"
   <!-- fitXY 的作用是“保持图片长宽比例”-->
        android:scaleType="fitXY"
        android:src="@drawable/select_photo02" />
</LinearLayout>
2.布局解析
此处对上方的布局进行补充:
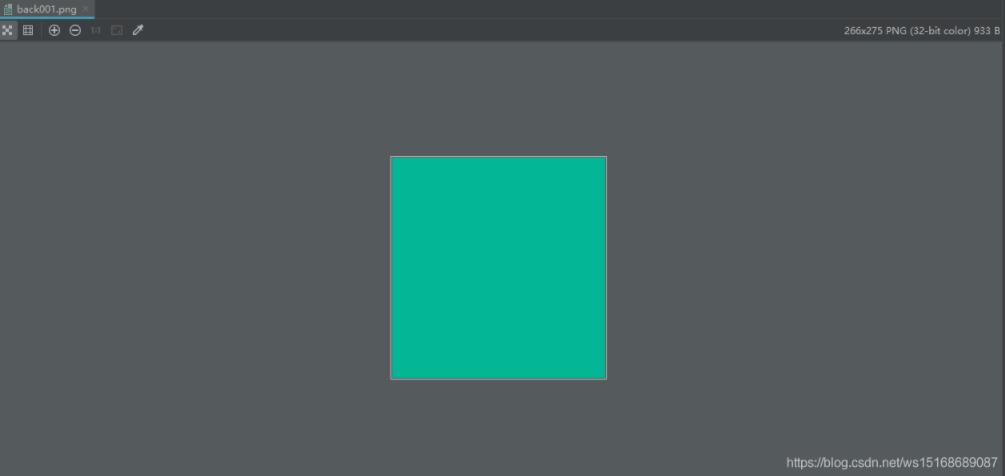
1).设置布局背景为back001
android:background="@drawable/back001"
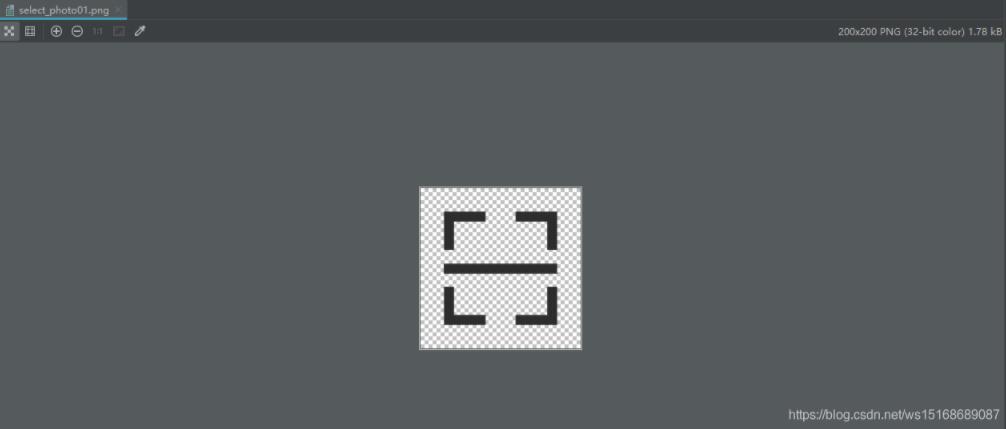
2).导入图片select_photo01
为了使搜索栏不单调,故导入图片装饰
android:src="@drawable/select_photo01"
 3.
3.
3.采用edittext_shape01样式
系统自带的EditText仅是一条直线,此处将其变成圆型输入框
android:background="@drawable/edittext_shape01"
变化前:

变化后:

edittext_shape01代码如下:
<?xml version="1.0" encoding="utf-8"?>
<shape xmlns:android="http://schemas.android.com/apk/res/android"
    android:shape="rectangle" >
    <solid
        android:color="#FFFFFF" >
    </solid>
    <!-- 设置圆角 -->
    <corners
        android:radius="3dp"
        android:bottomLeftRadius="15dp"
        android:bottomRightRadius="15dp"
        android:topLeftRadius="15dp"
        android:topRightRadius="15dp" >
    </corners>
    <!-- 设置边框 -->
    <stroke android:width="1dip" android:color="#ff000000" />
</shape>
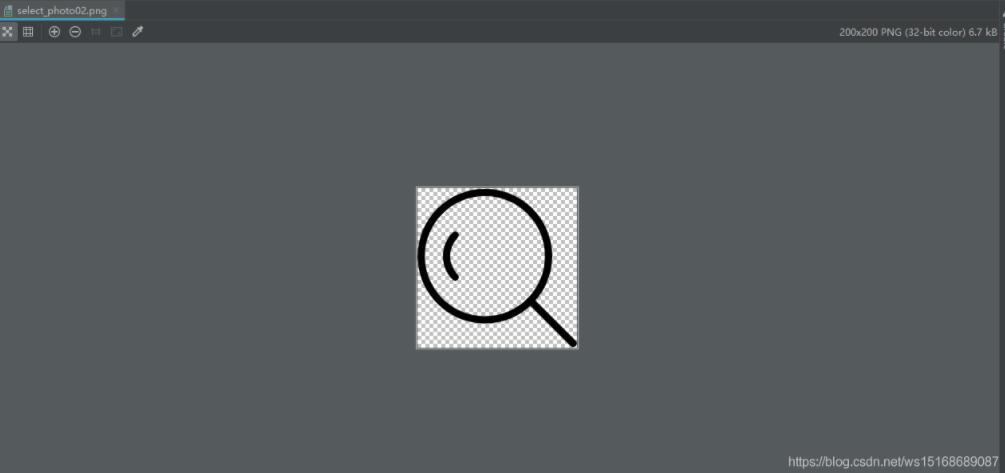
4.导入图片select_photo02装饰
android:scaleType="fitXY"
android:src="@drawable/select_photo02"
注:fitXY较为重要!
测试
完成布局的编写后,便可以将select01作为自定义控件,进行调用:
<include layout="@layout/select01" />
只需要通过一行include语句,便可以引入搜索栏布局
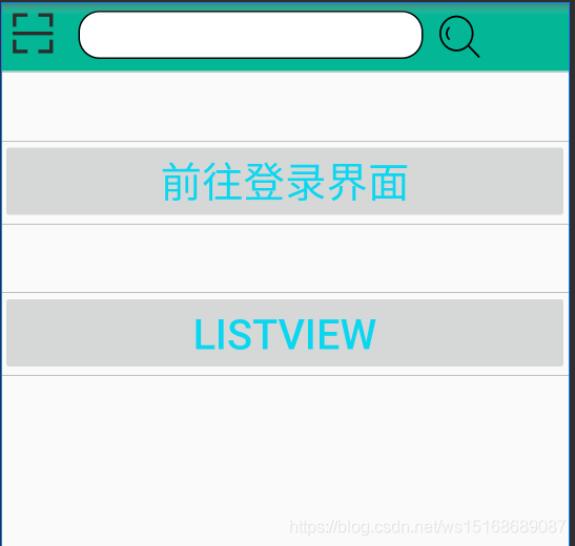
引入前后对比:
引入前
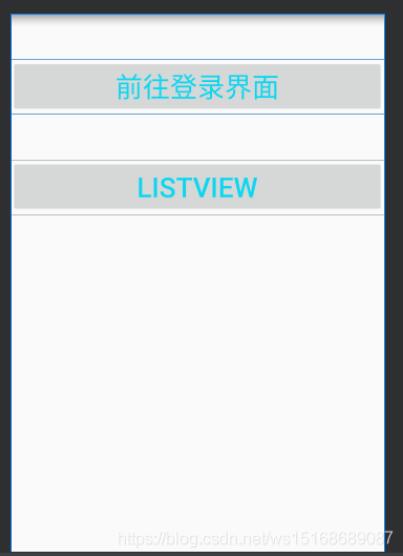
引入后